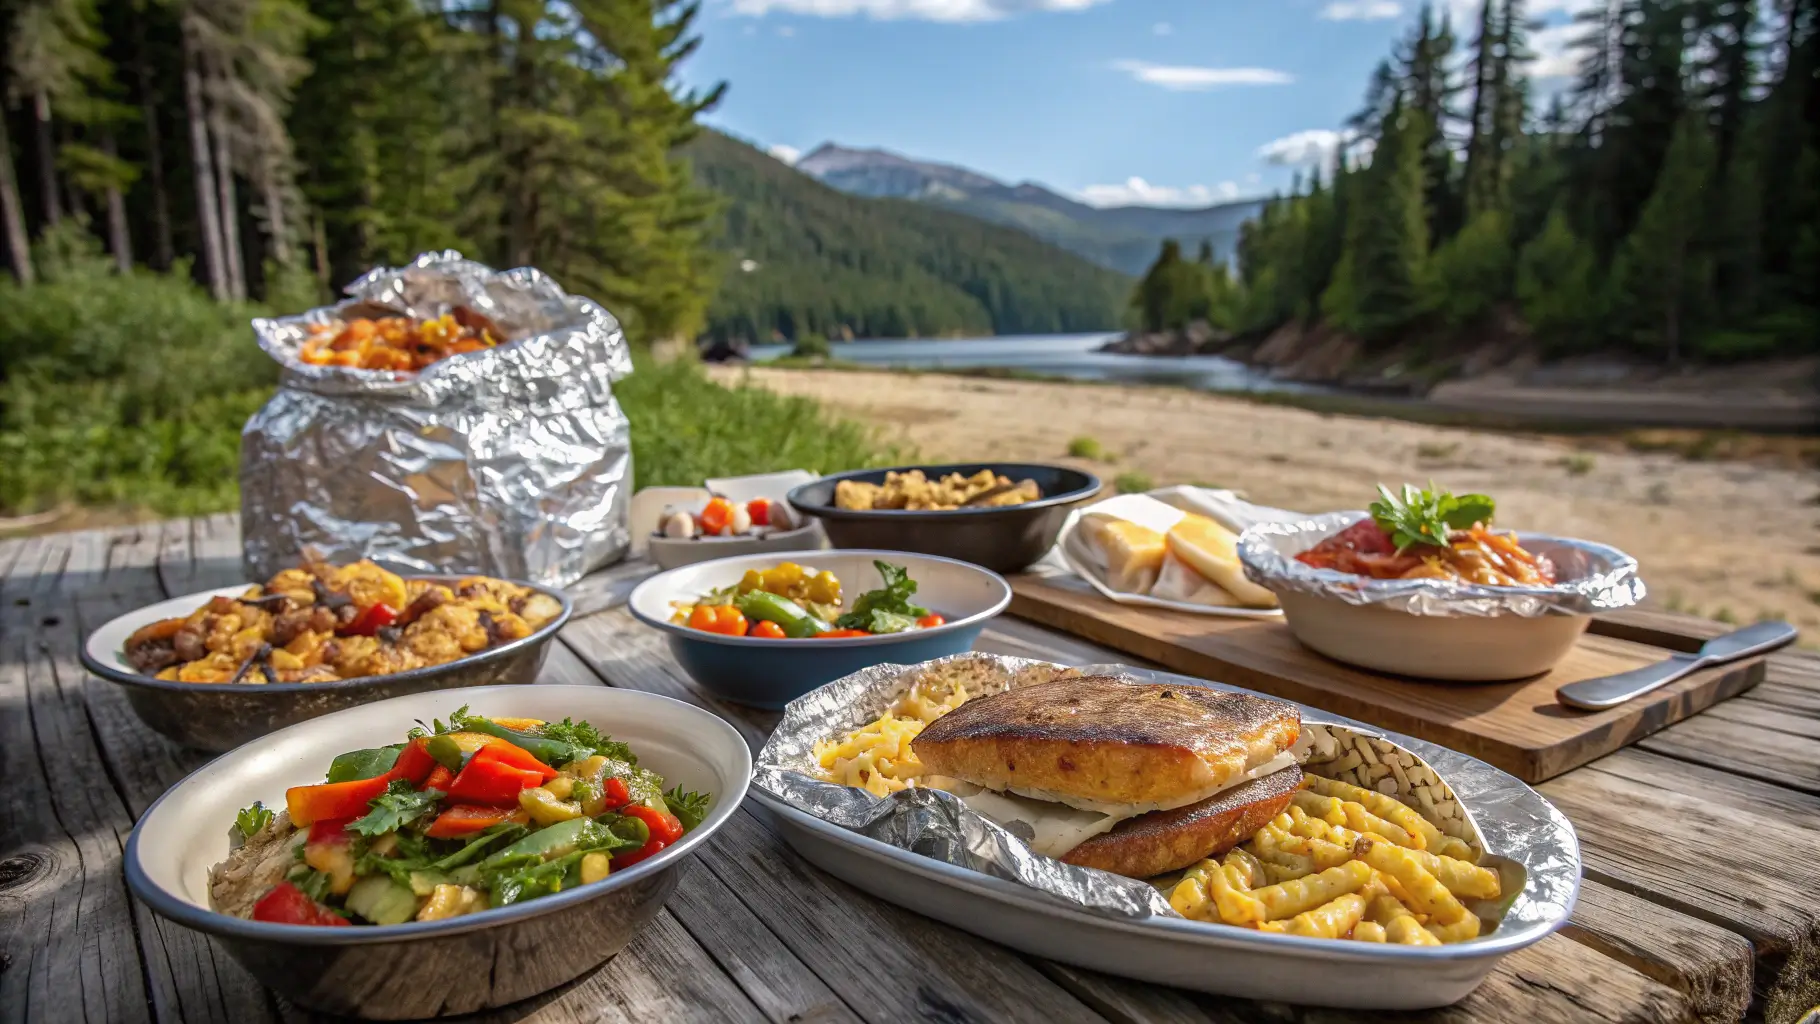
Are you stuck at your campsite cooking for hours instead of enjoying nature? It happens to all of us. You can make delicious and easy Camping meals with just one piece of cookware and minimal cleanup time. Simple camping meals are within reach.
The best camping meals are often the simplest ones, despite what many campers think. Our list includes no-cook options and quick meal ideas you can prep at home. These filling dishes take under 30 minutes to prepare. You’ll spend less time managing pots and pans and more time enjoying your outdoor adventure.
We have tested and refined 10 quick camping meals that blend convenience with flavor perfectly. Each recipe needs simple camping kitchen gear and delivers satisfying results. These options work great for dinner or breakfast at your campsite.
Table of Contents
One-Pot Campfire Mac and Cheese
“I went to the woods because I wished to live deliberately, to front only the essential facts of life, and see if I could not learn what it had to teach, and not, when I came to die, discover that I had not lived.” — Henry David Thoreau, American naturalist and philosopher
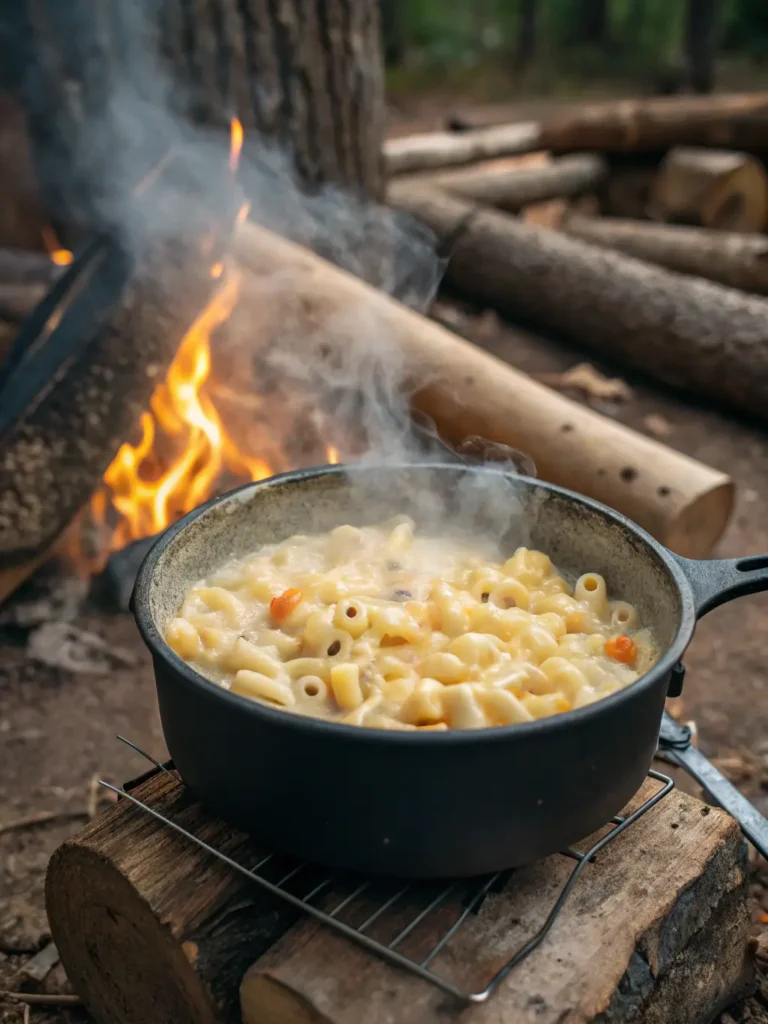
Nothing beats a comforting bowl of cheesy goodness at your campsite. This one-pot campfire mac and cheese brings home-style flavor to the great outdoors.
Quick Ingredient Prep Guide
You’ll need these essentials to make a creamy, restaurant-quality mac and cheese:
- 2 cups elbow macaroni
- 1 cup alfredo sauce
- 1½ cups sharp cheddar cheese (freshly grated)
- ½ cup parmesan cheese
- ½ cup mozzarella cheese
- ½ cup half-and-half
- 1 tablespoon butter
- Seasonings: garlic powder, onion powder, paprika, salt, and black pepper
It’s best to grate cheese blocks instead of using pre-shredded varieties. You can also make cooking easier by putting spices in labeled zip-top bags.
30-Minute Cooking Instructions
Start by cooking the macaroni in salted water for 5-6 minutes until slightly underdone. A quick rinse with cold water stops the cooking process. The pasta should stay somewhat firm since it will keep cooking over the campfire.
Here’s what to do next:
- Mix the cooked pasta with alfredo sauce
- Gradually stir in the three kinds of cheese
- Add half-and-half and seasonings
- Transfer to an aluminum pan
- Cover tightly with foil
Set the pan on a grill grate 2-3 inches above hot coals. Let it cook for 20-30 minutes until the cheese melts and bubbles. You can make it extra indulgent by removing the foil after 15 minutes and adding more cheddar on top.
Equipment Needed
You’ll need this gear to make perfect campfire mac and cheese:
- Heavy-bottomed pot or Dutch oven
- Aluminum foil pan (8×8 inch)
- Wooden spoon for stirring
- Grater (unless using pre-grated cheese)
- Measuring cups
- Grill grate for placing over coals
Storage Tips
This camping mac and cheese stays fresh for 3-4 days when kept cold. Put the prepared pan in a gallon-sized zip-top bag before storing in your cooler so water doesn’t seep in.
Here’s how to store it right:
- Cool completely before covering
- Store in an airtight container
- Keep temperature below 40°F
- Avoid storing near melting ice
Keep the pan away from direct flames while reheating to prevent burning. The cheese sauce might get thicker during storage, so bring extra half-and-half to adjust its consistency.
No-Cook Mediterranean Wraps
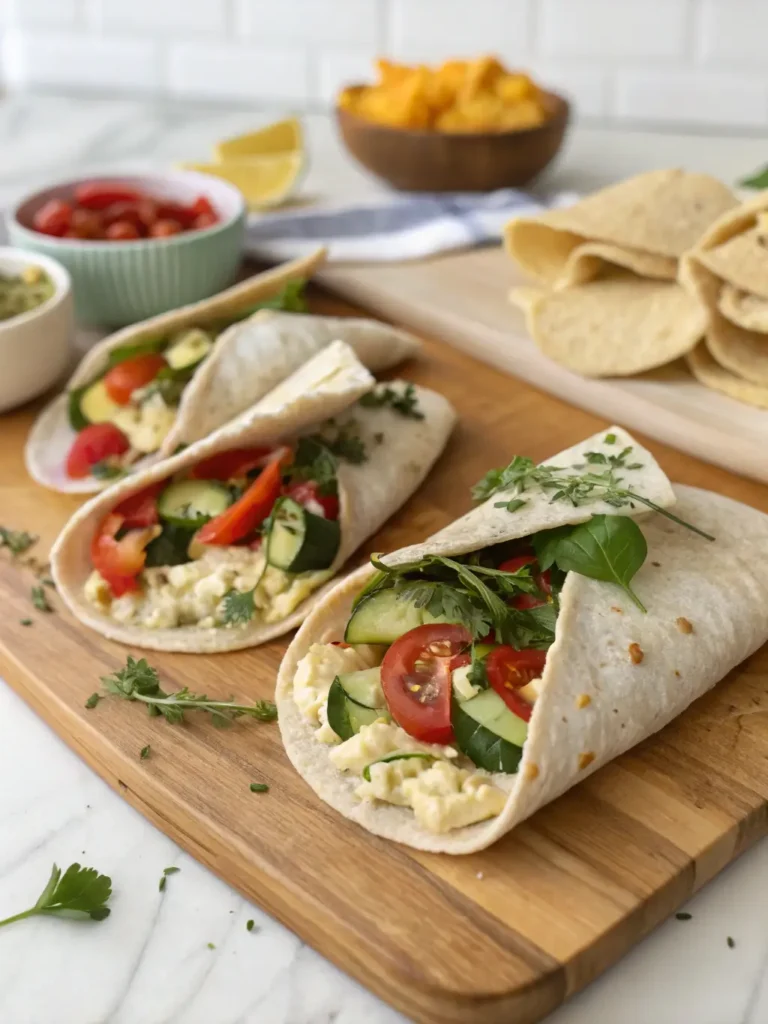
These no-fuss Mediterranean wraps need zero cooking time at your campsite. They’re perfect to beat the summer heat or skip setting up the campfire.
Everything in Making These Wraps
Your protein-packed wraps need these key ingredients:
- Large burrito-sized tortillas or lavash bread
- Hummus (store-bought or homemade)
- Mixed greens or spinach
- Crumbled feta cheese
- Roma tomatoes, diced
- Cucumber, sliced
- Red onion, thinly sliced
- Black olives, quartered
- Fresh herbs (oregano or basil)
- Extra virgin olive oil
- Fresh lemon juice
You can add pre-cooked rotisserie chicken to boost protein. The vegetarian version works great with chickpeas or extra vegetables.
Assembly Instructions
Making these Mediterranean wraps is straightforward:
- Spread plenty of hummus on the bottom two-thirds of your tortilla
- Add a layer of mixed greens or spinach leaves
- Stack your vegetables in this order:
- Cucumber sticks
- Diced tomatoes
- Red onion slices
- Quartered black olives
- Add crumbled feta cheese
- Add olive oil and fresh lemon juice
- Top with dried oregano, salt, and pepper
Roll everything burrito-style – fold sides inward, then roll from bottom to top to keep everything in place. Wrap in foil or parchment paper for extra security.
Make-Ahead Tips
Mediterranean wraps make excellent prep-ahead camping meals. Here’s what you need to know:
Store ingredients separately if you’re prepping more than a day ahead. Remember these storage tips:
- Your wrapped creations stay fresh up to 4 days in the fridge
- Use airtight containers for assembled wraps
- Freezer storage works for up to 2 months – skip tomatoes and cucumber to maintain freshness
Your campsite prep becomes easier when you:
- Pack vegetables in separate sealed containers
- Keep hummus cold in your cooler
- Bring whole tortillas to assemble on-site
- Use pre-portioned ingredients
Dry all vegetables before assembly to avoid soggy wraps. Layer greens between hummus and juicy vegetables if making ahead – this creates a moisture barrier.
These wraps taste amazing with sides like:
- Crispy pita chips
- Fresh fruit
- Greek pasta salad
- Cucumber and tomato salad
Mix things up by adding:
- Roasted red peppers
- Artichoke hearts
- Quinoa or cooked rice
- Tzatziki sauce
15-Minute Breakfast Burritos
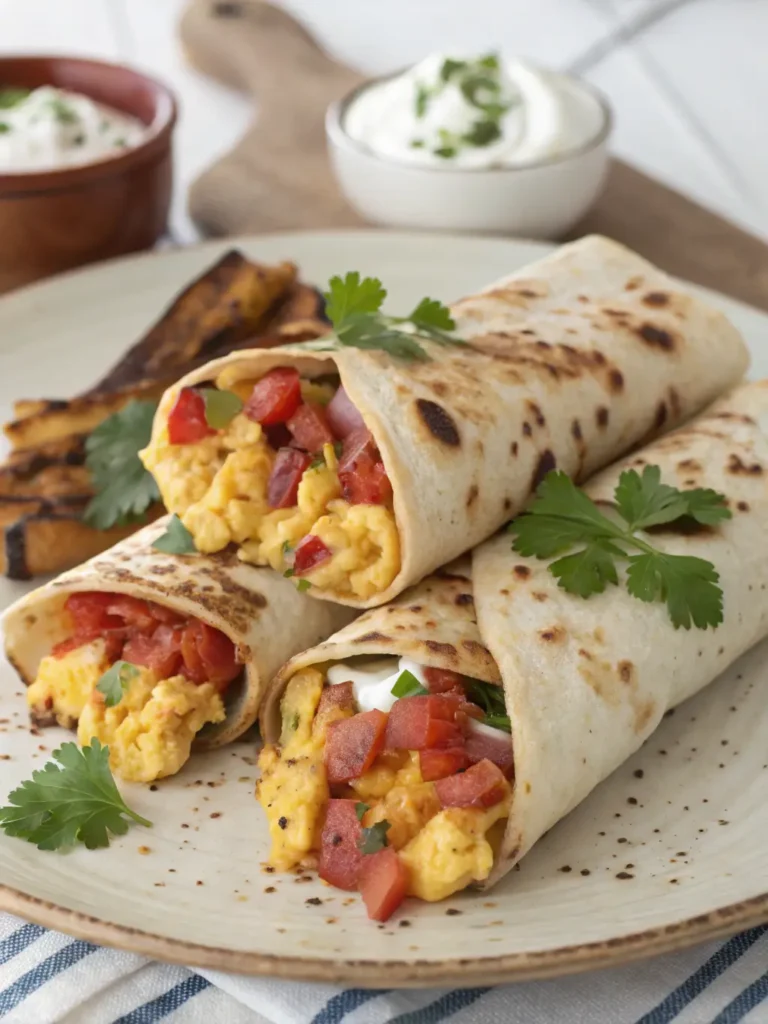
These protein-packed breakfast burritos take just 15 minutes to make and are perfect to kickstart your morning adventures. You’ll love these make-ahead camping favorites that taste amazing and are super convenient for outdoor trips.
Ingredient List
Here’s what you need to make 8 filling breakfast burritos:
- 12 large eggs
- 1 pound breakfast sausage
- 8 burrito-sized flour tortillas
- 2 cups shredded cheddar cheese
- 1 can (4 oz) chopped green chiles
- Salt and pepper to taste
Campsite Prep Steps
The prep work starts at home to make your campsite cooking easier:
- Take a large skillet and cook the sausage until it’s no longer pink
- Beat the eggs in a separate bowl
- Add beaten eggs to the cooked sausage in the skillet
- Mix in green chiles as the eggs start to set
- Keep cooking until eggs reach the texture you want
- Mix in the shredded cheese until it melts evenly
Wrap your tortillas in a clean kitchen towel and pop them in the microwave for 30-45 seconds. Soft tortillas roll better and won’t tear.
Cooking Method
Here’s how to wrap your burritos so they stay fresh during your camping trip:
Lay a tortilla on a large sheet of heavy-duty foil. Add about one-eighth of the egg mixture in the middle. Fold in the ends and roll it into a tight cylinder. The foil wrap should be secure with sealed ends.
Pack your wrapped burritos in a large resealable food storage bag. At the campsite, place them near hot coals and turn them every few minutes for 10-15 minutes until they’re hot.
Variations and Add-ins
Make these breakfast burritos your own with these tested ingredients:
Protein Options:
- Crispy bacon pieces
- Diced ham
- Black beans for vegetarian version
Vegetable Add-ins:
- Sautéed bell peppers
- Sliced green onions
- Diced tomatoes
- Crispy hash browns or tater tots
Flavor Enhancers:
- Hot sauce
- Fresh salsa
- Sour cream
- Sliced avocado
- Fresh cilantro
Let all ingredients cool before you assemble the burritos. This stops the tortillas from getting soggy. You can also double-wrap them using parchment paper inside the foil for extra protection.
These burritos stay good in the freezer for up to 3 months. Just move them from your freezer to the cooler before your trip. They’ll help keep other food cold while they thaw for breakfast.
Quick Grilled Chicken Skewers
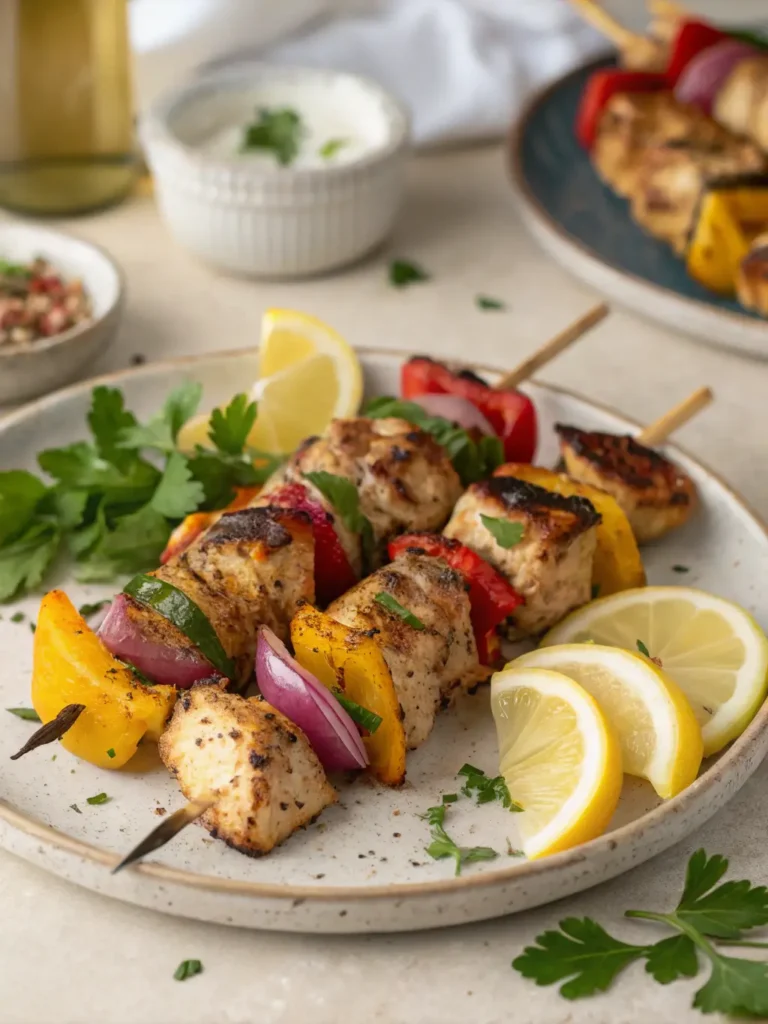
These quick grilled chicken skewers will make your camping dinners taste amazing. You can create restaurant-quality meals at your campsite without much effort.
Marinade Options
Make your chicken tender and juicy with these tested marinade combinations:
Greek-Style Marinade:
- 3 tablespoons olive oil
- 1/4 cup lemon juice
- 3 teaspoons dried oregano
- 1 tablespoon minced garlic
- 2 teaspoons dried parsley
- 1 teaspoon cumin
- 1/2 teaspoon red pepper flakes
Yogurt-Based Marinade: Mix yogurt, olive oil, paprika, cumin, cinnamon, red pepper flakes, lemon zest, and minced garlic. This mix makes the chicken tender and adds a subtle tang.
Skewer Assembly
Your skewers will cook evenly if you:
- Cut chicken into uniform 1-inch cubes
- Alternate threading:
- Chicken pieces
- Bell peppers
- Red onion chunks
- Cherry tomatoes
Essential Tip: Wooden skewers need 20 minutes of soaking in water to prevent burning. Metal skewers work better since they won’t catch fire.
Grilling Instructions
Your chicken skewers will cook perfectly if you:
- Preheat grill to medium-high heat (375°F)
- Place skewers on well-greased grates
- Grill for 10-12 minutes total
- Turn skewers occasionally for even cooking
- Check internal temperature reaches 165°F
Time-Saving Tip: You can prep skewers at home and pack them in resealable containers. This saves time at the campsite and keeps food safe.
Serving Suggestions
Make your camping meal better with these sides:
- Fresh Greek salad with cucumber, tomatoes, and feta
- Warm pita bread or flatbread
- Fluffy couscous or rice
- Tzatziki sauce or hummus for dipping
Storage Guidelines: Grilled chicken skewers stay fresh for 3-4 days below 40°F. Pack assembled skewers in airtight containers away from melting ice in your cooler.
The chicken needs 30 minutes to 3 hours of marinating time. Don’t marinate longer than 8 hours or the meat’s texture will change. You can also make the marinade at home and add it to the chicken at your campsite.
Instant Pot Camping Chili
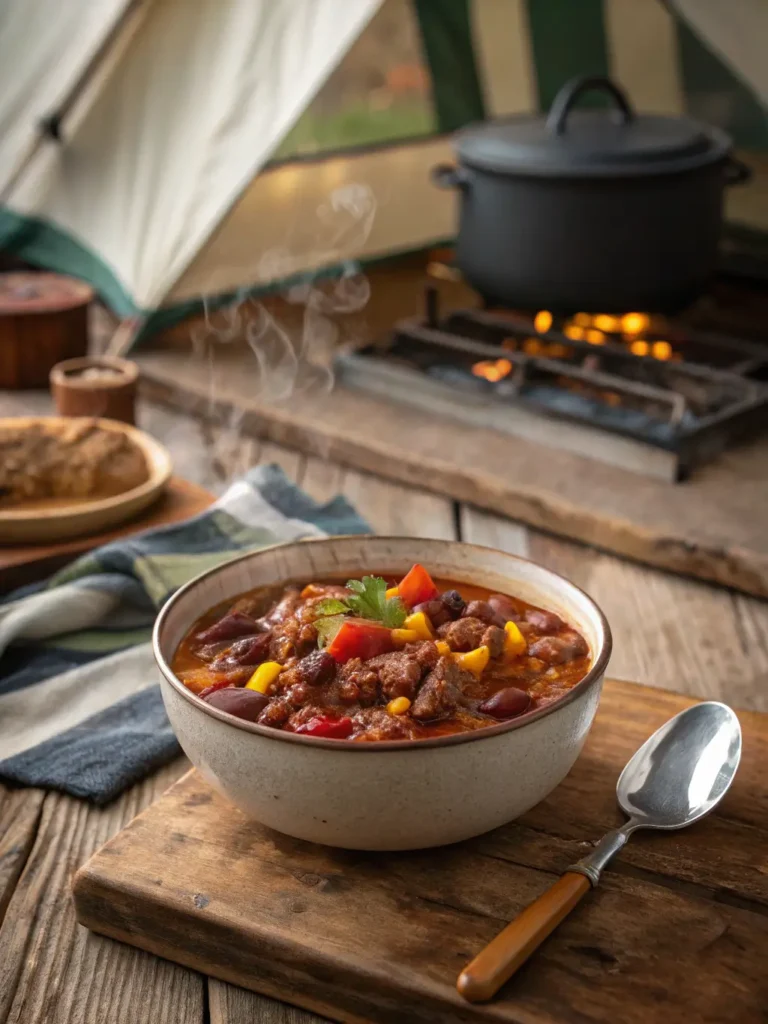
Make your camping experience cozier with this hearty Instant Pot chili that brings smoky, campfire flavors to your outdoor kitchen. This modern spin on traditional campfire cooking saves time and keeps all the taste.
Ingredient Preparation
You’ll need these items to make a rich, tasty chili:
- 2 pounds lean ground beef (90/10 ratio)
- 2 types of beans: kidney and black beans
- Fire-roasted diced tomatoes and crushed tomatoes
- Diced onions, green peppers, and garlic
- Beef broth to ensure proper pressure cooking
- Spice blend: chili powder, cumin, oregano, smoked paprika
Pro tip: Give your beans a good rinse before cooking to avoid soupy chili.
Cooking Steps
Your perfect campsite chili comes together with these steps:
- Set Instant Pot to ‘sauté’ mode and wait for ‘hot’ display
- Brown ground beef and break it into smaller pieces (about 5 minutes)
- Add onions, peppers, and garlic until vegetables soften
- Pour beef broth to deglaze the pot and scrape any browned bits
- Mix in tomatoes, beans, and seasonings
- Seal lid and switch to ‘manual’ or ‘chili’ setting
- Cook under pressure for 25 minutes
Modern Equipment Tips
Your Instant Pot works best when you follow these guidelines:
Check your lid’s gasket before starting and make sure the valve sits in the ‘sealing’ position. Want thicker chili? Use the sauté mode after pressure cooking with the lid off.
Temperature Control: Keep your chili ready to serve on the ‘warm’ setting. You can also store it in airtight containers for up to 3 days in your camping cooler.
Serving Ideas
Set up a tasty chili bar with these toppings:
- Shredded cheddar cheese
- Sour cream
- Sliced green onions
- Corn chips or crackers
- Diced avocado
- Hot sauce
Crusty bread makes a great side, or serve the chili over rice to feed more people. Add some liquid smoke or smoked paprika to boost that campfire taste.
Storage Tip: Planning a longer trip? Freeze portions in airtight containers or heavy-duty freezer bags. Your chili stays fresh up to 6 months in the freezer. Let it thaw overnight in your cooler before heating it up on your camping stove or over the campfire.
30-Minute Dutch Oven Pizza
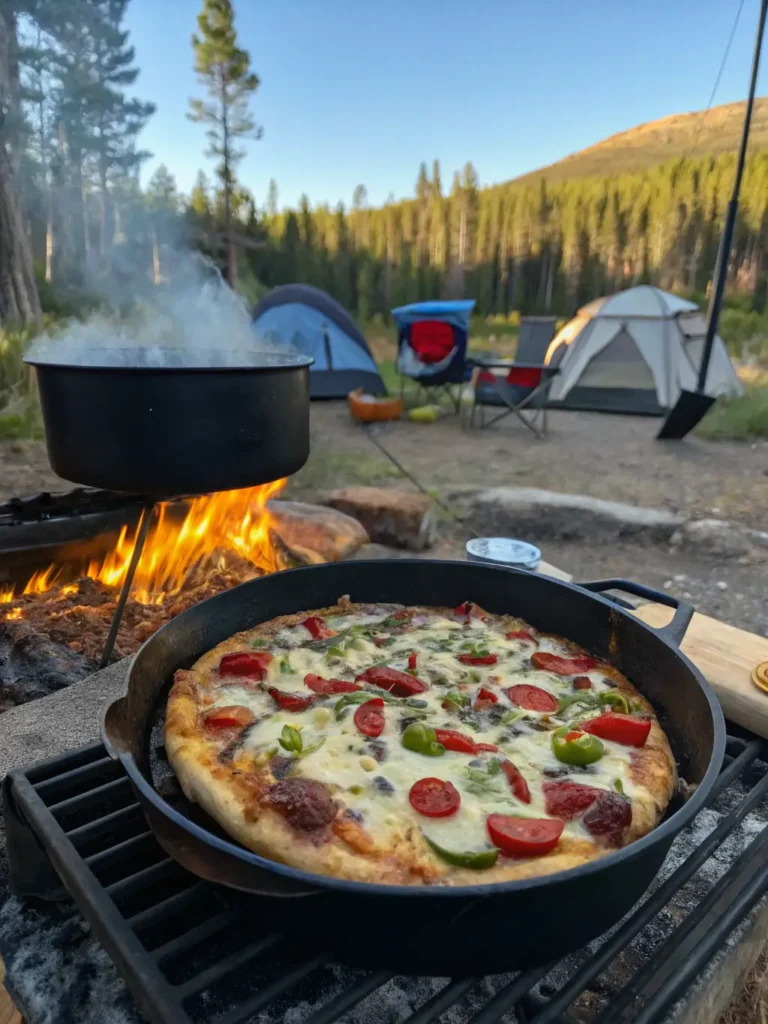
Your campsite deserves the amazing taste of authentic pizzeria flavors with this Dutch oven pizza. The result rivals wood-fired versions, and you can make crispy, cheesy pizzas right where you camp.
Dough Preparation
You can create the perfect campfire pizza base with these options:
- Pre-made pizza dough from grocery stores
- Refrigerated pizza crust in tubes
- Flatbreads or naan as quick alternatives
Essential Tip: A lightly floured surface helps you roll the dough into a 12-inch circle that fits your Dutch oven. Store-bought dough works best when it reaches room temperature before you shape it.
Topping Options
Make your signature camping pizza with these proven combinations:
Classic Base Layer:
- Marinara sauce (1 cup)
- Italian cheese blend (1 cup)
- Fresh mozzarella slices
- Garlic powder and dried herbs
Popular Add-ons:
- Spicy Italian sausage
- Mushrooms and onions
- Bell peppers
- Fresh basil leaves
Cooking Method
You’ll get perfectly cooked Dutch oven pizza with these steps:
- Heat your Dutch oven at 450°F in an oven or over hot coals
- Make a foil sling by folding an 18-inch piece lengthwise into thirds
- Use the sling to lower your prepared dough into the hot Dutch oven
- Brush dough with olive oil
- Spread sauce and toppings evenly
- Let it bake until the crust turns golden brown (about 20 minutes)
Temperature Control
The right coal placement gives you ideal cooking temperatures:
A 12-inch Dutch oven at 450°F needs:
- 19 coals on top
- 10 coals underneath
Heat Management Tips:
- Your oven needs rotation every 10-15 minutes to cook evenly
- Take a first look at your pizza after 12 minutes
- Weather affects your coal placement:
- Windy days need extra coals
- More bottom heat makes crispier crust
Storage Guidelines: Your cooked pizza stays good up to 4 days below 40°F. Leftover slices need foil wrapping and airtight containers to stay fresh.
Longer camping trips work better when you prepare multiple dough portions ahead and keep them separate in your cooler. This lets you enjoy fresh pizzas throughout your outdoor adventure while keeping food safe.
Quick Foil Packet Fish
“The clearest way into the Universe is through a forest wilderness.” — John Muir, Scottish-American naturalist and author
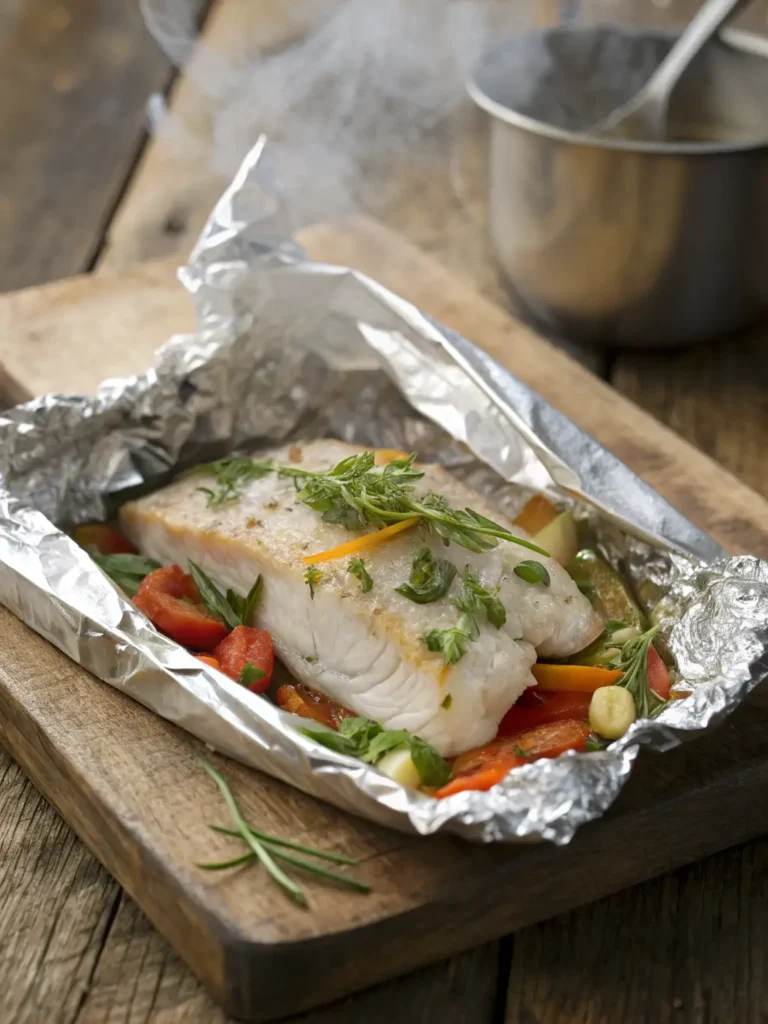
Learn how simple it is to cook fish in foil packets – a foolproof way that gives you moist, flavorful results at your campsite. This technique works great with fish of all types and needs minimal cleanup.
Fish Selection Guide
These reliable options work great in foil packets:
- White Fish: Tilapia, cod, or perch are perfect choices with their mild flavor and firm texture
- Premium Choices: Halibut, striped bass, or salmon filets (6-ounce portions) give you restaurant-quality meals
- Seafood Alternative: Large shrimp or mussels add variety to your menu
The best results come from fish filets that are ¾ to 1 inch thick. Fresh-caught fish tastes better, but quality frozen fish works just as well since it’s frozen right after catching.
Seasoning Options
Make your fish taste amazing with these tested combinations:
Classic Mediterranean:
- Olive oil base
- Fresh herbs (parsley, basil, thyme, oregano, or rosemary)
- Lemon slices
- Garlic powder
- Salt and pepper
Spicy Southwest:
- Fresh jalapeño slices
- Garlic salt
- Black pepper
- Lemon juice
Cooking Instructions
Follow these steps to cook perfect fish packets:
- Prepare the Foil:
- Use heavy-duty foil or double-layer regular foil
- Cut sheets big enough to make loose tents around fish
- Mussels need double-layer protection
- Assembly Process:
- Start with vegetables as your base
- Put fish on top
- Add plenty of seasoning
- Pour in some white wine or water
- Seal it well but leave space for steam
- Cooking Methods:
- Grill: Medium-high heat for 10-12 minutes
- Campfire: Cook on grate for 10-15 minutes based on thickness
- Oven Alternative: 450°F for 12-15 minutes
Essential Tips:
- Wait 5 minutes before opening packets
- Fish should flake easily with a fork
- Thicker filets need more cooking time
- Seal edges well to keep moisture in
You can make packets ahead for longer camping trips and keep them in your cooler. Sealed packets stay fresh up to 4 days below 40°F. You might prefer to bring separate ingredients and make fresh packets at your campsite.
Campfire Nachos Supreme
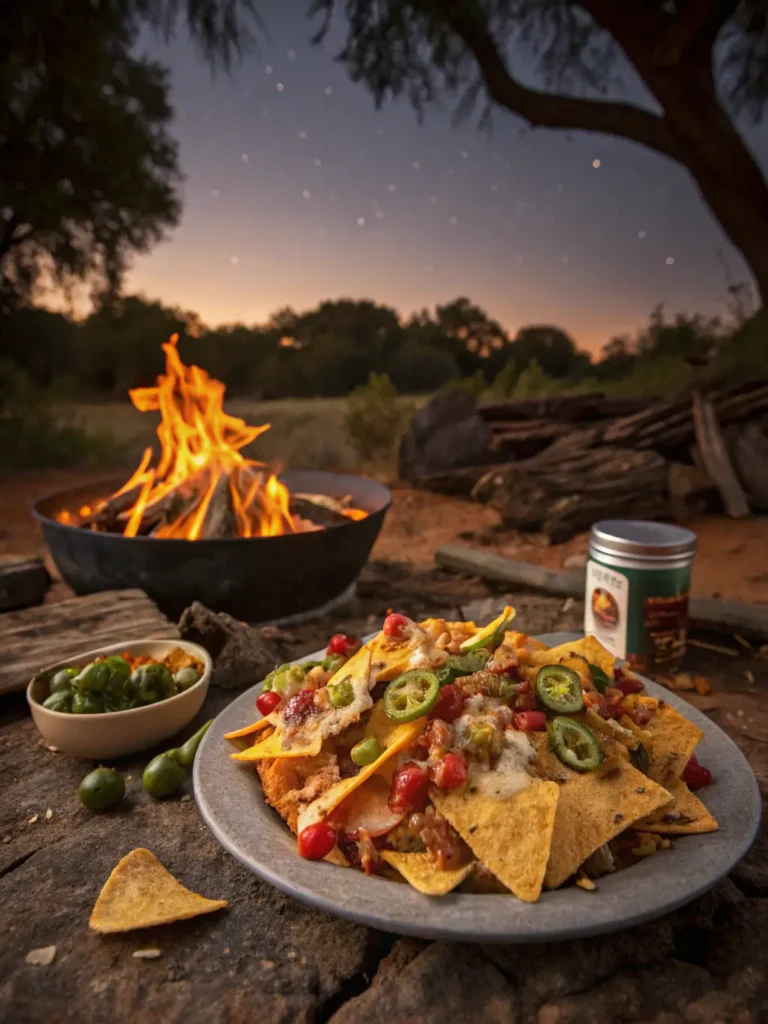
Want to raise your camping meals without much work? These layered campfire nachos blend the perfect crunch, cheese, and zesty toppings for your outdoor meals.
Ingredient Layering Guide
Great nachos need proper layers. Start with strong tortilla chips as your base. These chips should hold their shape well. Spread one-third of chips across your Dutch oven’s bottom and add:
- ¼ can black beans
- ¼ cup Mexican cheese blend
- Diced avocado
- Sliced green onions
- Fresh cilantro
Cooking Steps
You’ll get perfectly melted nachos with these steps:
- Put your Dutch oven close to hot coals with 1-2 coals underneath and 4-5 on the lid
- Cover it well and let it cook about 10 minutes until cheese melts fully
- Turn the Dutch oven halfway around every few minutes so it heats evenly without burning
Time-Saving Tip: A parchment paper liner in your Dutch oven makes cleanup quick and easy
Topping Ideas
Make your nachos special with these tested combinations:
Protein Options:
- Pre-cooked ground beef with taco seasoning
- Pulled pork
- Plant-based crumbles
Fresh Additions:
- Pico de gallo
- Diced jalapeños
- Red onions
- Green chiles
- Black olives
Finishing Touches:
- Sour cream
- Fresh guacamole
- Zesty salsa
- Chopped cilantro
Your assembled nachos will stay fresh in airtight containers for up to 1-2 days. The best results come when you prepare ingredients separately and put them together at the campsite. Without doubt, these nachos make a perfect sharing dish around the campfire after a day outdoors.
20-Minute Stir-Fry Noodles
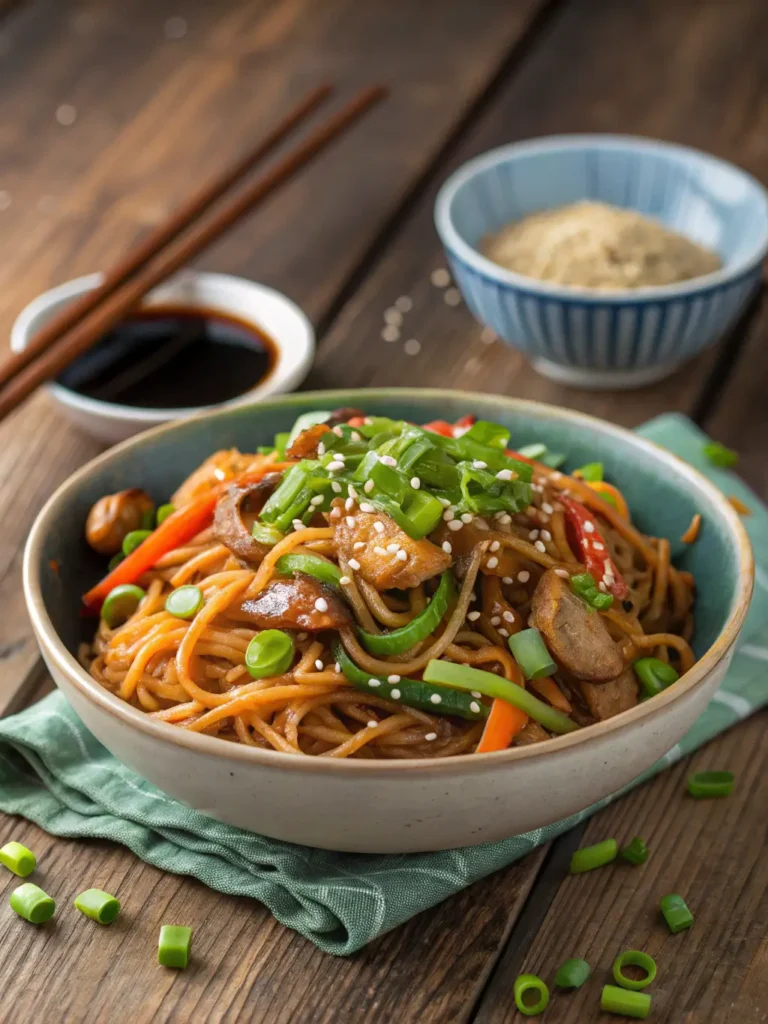
Make a tasty stir-fry noodle dish that brings Asian flavors right to your campsite kitchen. This flexible recipe needs just basic equipment and gives you amazing taste in 20 minutes.
Noodle Options
You can pick from these camping-friendly noodles:
- Yakisoba noodles from the refrigerated section
- Ramen noodles that cook fast
- Udon or soba as filling alternatives
Time-Saving Tip: Pick noodles that don’t need pre-soaking or long cooking times. You might want to grab pre-cooked rice packets to save time.
Sauce Preparation
Mix these ingredients for a tasty base sauce:
- Soy sauce or amino acids
- Island teriyaki sauce
- Peanut sauce or hoisin sauce
The sauce tastes better when you mix ingredients at home, leaving out cornstarch and hot water. Your mixture stays fresh for several hours at room temperature. Once you reach camp, just add ½ cup hot water and cornstarch to get the right thickness.
Cooking Method
Follow these steps to make perfect campsite stir-fry:
- Heat oil or butter in a large skillet on your camp stove
- Add your choice of protein:
- Pre-sliced beef (thinner than a coin)
- Chicken breast strips
- Extra-firm tofu cubes
- Add vegetables in this order:
- Tough vegetables first (carrots, broccoli)
- Fast-cooking vegetables next
- Pre-cut cabbage and bean sprouts at the end
- Mix everything in one pot and stir often until hot
Essential Tips:
- Slice meat while it’s slightly frozen for easier cutting
- Keep pre-cut ingredients in separate containers
- Arrange ingredients in cooking order for quick prep
Canned vegetables work great for longer trips since they save cooler space and won’t spoil. Your stir-fry stays delicious for 15-20 minutes after cooking, so you can serve it right away at camp.
5-Minute No-Cook Trail Mix Bars
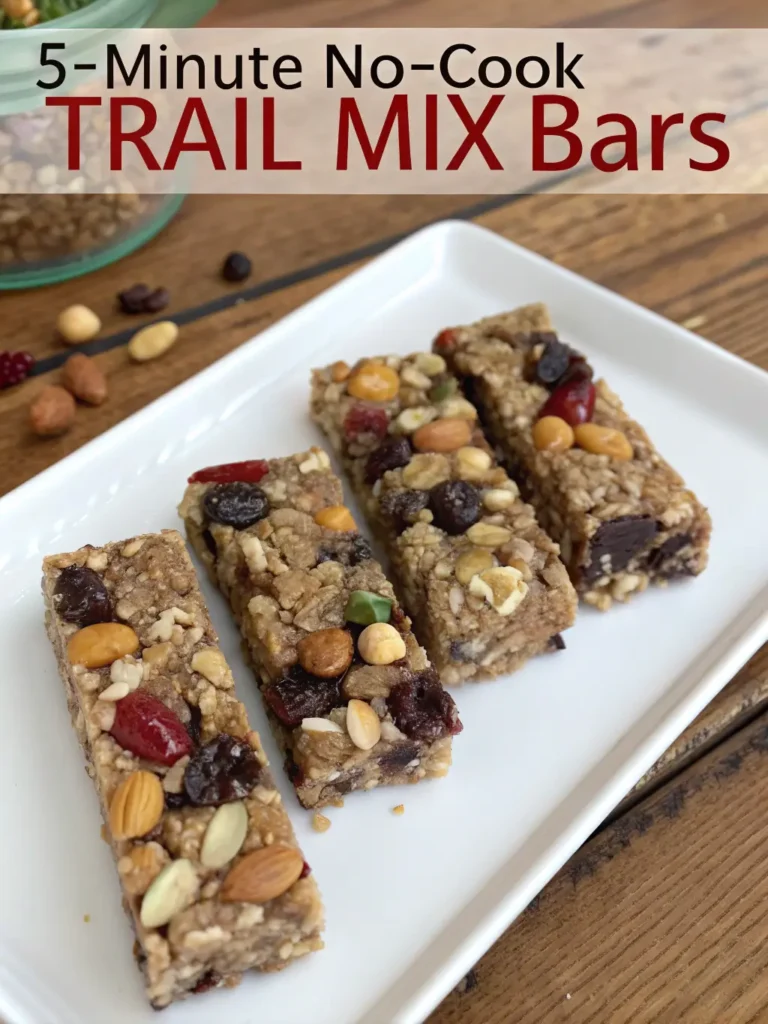
These nutrient-rich trail mix bars will power up your camping adventures without any cooking time. You can customize these bars to get perfect sustenance while hiking, climbing, or enjoying the outdoors.
Ingredient List
The core components to make these energy-packed bars include:
- 1½ cups crispy rice cereal
- 1 cup quick-cooking oats
- ½ cup mixed nuts (almonds, walnuts, or cashews)
- ¼ cup dried cranberries
- ¼ cup raisins
- 3 tablespoons wheat germ
- 1¼ cups mini marshmallows
- ¼ cup honey
- ¼ cup light corn syrup
Optional Boosters:
- Dark chocolate chips
- Shredded coconut
- Protein powder adds extra nutrition
Assembly Steps
The quickest way to make these bars follows this simple process:
- Coat an 8-inch square pan with cooking spray
- Mix cereals, oats, nuts, dried fruits, and wheat germ in a large bowl
- Heat marshmallows, honey, and corn syrup in a saucepan over medium heat
- Stir the mixture until it melts smoothly (about 5 minutes)
- Pour melted mixture over dry ingredients
- Press firmly into the prepared pan
- Let it cool until completely firm (about 30 minutes)
Customization Tip: Mix and match ingredients using ½ cup dried fruits and ¾ cup nuts you prefer
Storage Tips
Your bars will stay fresh with these tested methods:
Let the bars cool completely before storage. Wrap individual portions in parchment paper and place them in resealable bags for camping trips.
Temperature Guidelines:
- Refrigerate if room temperature goes above 75°F
- Use airtight containers to keep freshness
- Quality stays best up to 1 week in the refrigerator
- Freezing works well up to 3 months
Double-wrap your bars with parchment paper inside foil for longer trips. This keeps moisture out and maintains the texture. You can also keep assembled bars in your cooler at temperatures below 40°F.
Comparison Table
| Recipe Name | Prep/Cook Time | Main Ingredients | Required Equipment | Storage Duration | Special Tips |
|---|---|---|---|---|---|
| One-Pot Campfire Mac and Cheese | 25-30 minutes | Elbow macaroni, alfredo sauce, 3 types of cheese, half-and-half | Heavy-bottomed pot/Dutch oven, aluminum foil pan, grill grate | 3-4 days when kept cold | Grate your own cheese rather than using pre-shredded varieties |
| No-Cook Mediterranean Wraps | 5 minutes | Tortillas, hummus, mixed greens, feta, vegetables | None | Up to 4 days refrigerated | Make sure vegetables are dry before assembly to avoid soggy wraps |
| 15-Minute Breakfast Burritos | 15 minutes | Eggs, breakfast sausage, tortillas, cheese, green chiles | Large skillet, foil for wrapping | Up to 3 months frozen | Use parchment paper inside foil to wrap burritos twice |
| Quick Grilled Chicken Skewers | 20-25 minutes | Chicken cubes, marinade, vegetables | Skewers, grill | 3-4 days when kept below 40°F | Let wooden skewers sit in water for 20 minutes before using |
| Instant Pot Camping Chili | 25 minutes | Ground beef, beans, tomatoes, spices | Instant Pot | Up to 3 days in cooler | Look at lid gasket first and use sauté mode if you want thicker chili |
| 30-Minute Dutch Oven Pizza | 30 minutes | Pizza dough, sauce, cheese, toppings | Dutch oven, foil sling | Up to 4 days when kept below 40°F | Turn your oven every 10-15 minutes so it cooks evenly |
| Quick Foil Packet Fish | 10-15 minutes | Fish filets, seasonings, vegetables | Heavy-duty foil, cooking grate | Up to 4 days when kept below 40°F | Choose filets ¾ to 1 inch thick |
| Campfire Nachos Supreme | 10 minutes | Tortilla chips, cheese, beans, toppings | Dutch oven | 1-2 days | Put parchment paper in Dutch oven so cleanup is easier |
| 20-Minute Stir-Fry Noodles | 20 minutes | Noodles, protein, vegetables, sauce | Large skillet, camp stove | 15-20 minutes after cooking | Cut ingredients beforehand and arrange them in order of cooking |
| 5-Minute No-Cook Trail Mix Bars | 5 minutes + 30 minutes cooling | Cereal, oats, nuts, dried fruits, marshmallows | 8-inch square pan | Up to 1 week refrigerated | Use parchment paper inside foil to wrap bars twice |
Conclusion
Outdoor cooking doesn’t need hours of preparation or complex techniques to create delicious camping meals. You can prepare each recipe in 30 minutes or less, which gives us more time to learn about nature instead of managing the campsite kitchen.
Foil packet fish and one-pot mac and cheese are quick-cooking options that deliver great results with minimal cleanup. Mediterranean wraps and trail mix bars give you ready-to-eat nutrition when you want to skip cooking completely.
The right preparation and storage techniques help keep food safe and fresh during camping trips. Your outdoor cooking success depends on organizing the cooler properly, cutting ingredients beforehand, and planning meals strategically.
These recipes are perfect for weekend getaways and longer camping adventures. You can prep many dishes ahead of time or adapt them based on what’s available and your priorities. Our website recipesnutritious.com features more camping-friendly recipes and meal planning ideas.
These quick and easy camping meals let us create lasting outdoor memories while enjoying tasty, home-cooked food under the stars. You only need simple ingredients, simple equipment, and straightforward techniques to create satisfying meals at your campsite.
FAQs
Q1. What are some quick and easy camping meal ideas? Some quick and easy camping meals include foil packet meals (with vegetables and protein), one-pot pasta dishes, no-cook options like wraps, and simple grilled items like chicken skewers. These meals typically take 30 minutes or less to prepare and require minimal equipment.
Q2. How can I keep food fresh while camping? To keep food fresh while camping, use a high-quality cooler and keep it out of direct sunlight. Pack perishables in airtight containers and consume them early in the trip. For longer trips, consider using dried, canned, or freeze-dried foods that don’t require refrigeration.
Q3. What are good no-cook meal options for camping? Good no-cook meal options for camping include Mediterranean wraps, trail mix bars, pre-made sandwiches, and cold salads. These meals are perfect for hot days or when you want to avoid setting up cooking equipment.
Q4. How can I make pizza while camping? You can make pizza while camping using a Dutch oven. Prepare the dough and toppings, assemble the pizza in the Dutch oven, and cook it over hot coals for about 20-30 minutes. Rotate the oven occasionally for even cooking.
Q5. What’s a simple way to cook eggs while camping? A simple way to cook eggs while camping is to make breakfast burritos. Scramble eggs in a pan over a campfire or portable stove, add pre-cooked sausage or veggies, and wrap in tortillas. These can even be prepared ahead of time and reheated at the campsite.

