Looking for a quick dinner with 48 grams of protein? These baked chicken cutlets taste like restaurant-quality food and take just 30 minutes to prepare.
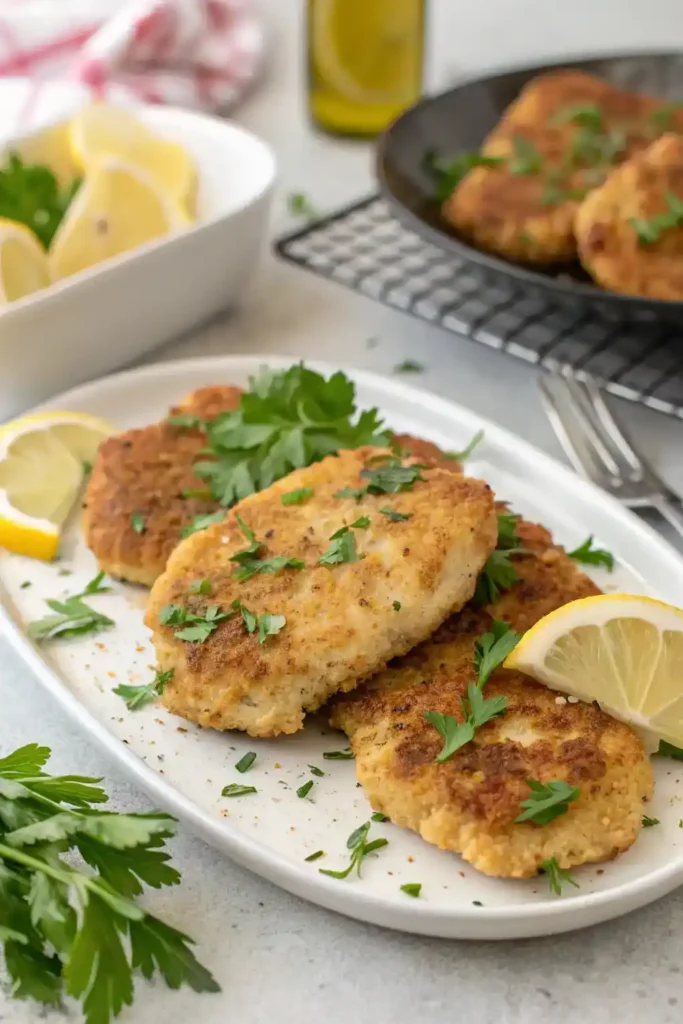
The cutlets turn out crispy outside and juicy inside, giving you the same satisfaction as fried chicken without extra oil. You can use them in chicken parmesan, sandwiches, or salads because these oven-baked cutlets work with almost any dish.
We combine panko breadcrumbs with a special wire rack method to create that perfect golden-brown crust while the chicken stays tender inside. The recipe works great for meal prep too. Your cooked cutlets will stay fresh in the fridge for 5 days or in the freezer for a month.
Time to discover the secrets of making perfectly crispy baked chicken cutlets. Let’s start cooking!
Table of Contents
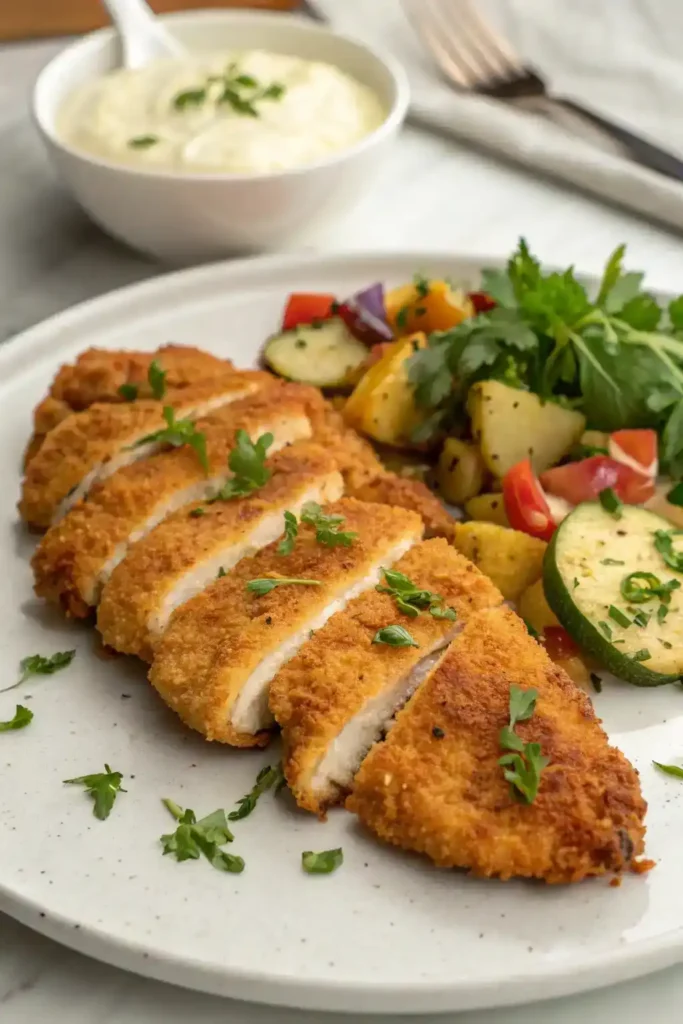
Why Baked Chicken Cutlets Beat Fried Versions
The difference between baked and fried chicken cutlets is more than just how you cook them. I’ve found that switching to oven baking changes the whole experience. It gives you better results without losing any of that great taste.
Health benefits of baking vs. frying
Baking chicken cutlets cuts down fat content compared to frying. Fried chicken soaks up oil while cooking, which means more calories and unhealthy fats. Baked chicken cutlets need just a bit of oil to get that crispy texture we all love.
This better way of cooking comes with real benefits:
- Baking keeps chicken’s natural nutrients, including high-quality protein, essential B vitamins (B6, B12, niacin), and important minerals like selenium and phosphorus
- Women who eat fried chicken daily are 13% more likely to die prematurely
- High-temperature frying creates harmful compounds like acrylamide and heterocyclic amines. Baking at lower temperatures reduces these risks
Baked chicken is easier on your stomach compared to fried versions. You won’t get that heavy, greasy feeling that comes after eating fried food, which makes baked cutlets perfect for everyday meals.
Flavor and texture advantages
You might be surprised, but well-prepared baked chicken cutlets taste just like their fried cousins. The right baking technique and seasoned breadcrumbs make these roasted cutlets taste almost exactly like fried ones.
Three key techniques help me get the best crispy results:
A wire rack lets air flow around the chicken, so the bottom stays crispy instead of getting soggy. A quick spray of olive oil before baking creates that golden crust. Flipping the chicken halfway through makes sure both sides get equally crispy.
Baked chicken cutlets are incredibly versatile. They’re great for meal prep since they stay tasty when reheated. You can play around with endless seasoning combinations—everything from Italian herbs to southwest spices works well with these cutlets.
Less mess and easier cleanup
One of the best things about oven-baked chicken cutlets is how much less cleanup you’ll have to do. Frying leaves oil splashes everywhere in your kitchen that take forever to clean. Baking doesn’t create this mess at all.
Baking is more forgiving than frying. With frying, you have to watch the oil temperature and burning crumbs constantly. Baking is much simpler—just set your timer and let your oven do its thing.
These breaded chicken cutlets take less than 30 minutes to prepare and cook. Making extra portions helps you put together quick meals throughout the week:
- Add chopped chicken to simple salads for a complete meal
- Make sandwiches with tender, juicy slices instead of processed lunch meat
- Toss pre-baked cutlets into soups and pasta dishes
You’ll use way less oil too. Instead of filling a pan with oil for frying, baking needs just enough to coat the breading. This saves money on ingredients and eliminates the hassle of dealing with used cooking oil.
This simplified cooking method helps you eat healthier without giving up the satisfaction of a crispy, flavorful chicken cutlet. Baked cutlets give you all the good stuff about fried versions with fewer downsides.
Essential Ingredients for Perfect Breaded Chicken Cutlets
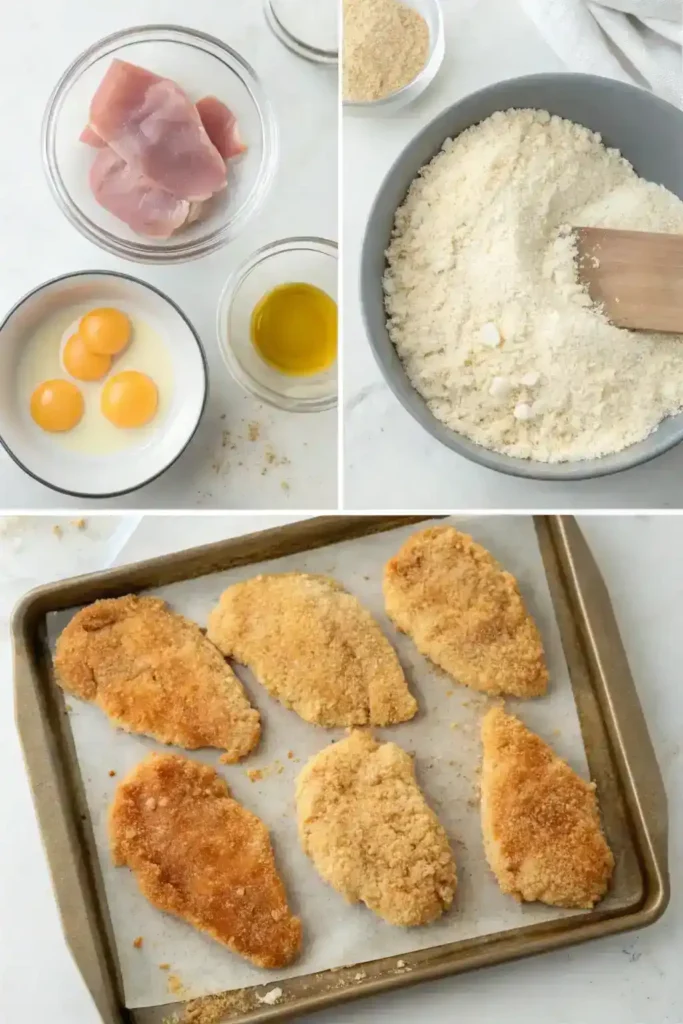
Quality ingredients are the foundations of delicious baked chicken cutlets. You’ll get that restaurant-quality crispiness without deep frying when you combine well-prepared chicken, the right breadcrumbs, tasty egg wash, and balanced seasonings.
Choosing the right chicken breasts
Boneless, skinless chicken breasts make the best baked chicken cutlet recipes. Thickness matters by a lot—chicken cutlets cook more evenly than full breasts and won’t dry out as easily. You can either buy pre-cut thin chicken breasts or make your own cutlets.
Slice each breast horizontally to create two thinner pieces of equal thickness if making your own cutlets. Next, place each piece between plastic wrap or parchment paper and gently pound to an even ¼-inch thickness. The uniform thickness will give a quick, even cook.
The process becomes easier when you freeze chicken breasts for 10-15 minutes before slicing. Use sideways movements instead of direct pounding when tenderizing—this helps flatten the chicken without damaging the fibers.
Breadcrumb options and their effects
Your choice of breadcrumbs shapes the final texture of your oven baked chicken cutlets. Panko breadcrumbs give you the crispiest exterior. These Japanese-style breadcrumbs create a lighter, airier coating because of their larger flake size.
Regular breadcrumbs do the job well too. Mix breadcrumbs with grated hard cheese like Parmesan or Pecorino Romano for the best results with either type. The cheese adds a nutty flavor and helps create beautiful golden browning.
Homemade breadcrumbs are another great option. Fresh breadcrumbs offer unique texture and let you control quality and seasoning.
Egg wash additions for extra flavor
The egg wash acts as vital “glue” that holds breading to the chicken. Beat eggs with 1-2 tablespoons of liquid for a standard egg wash. Milk or cream instead of water helps with browning and creates richer color.
These egg wash additions boost flavor:
- Grated cheese mixed directly into the egg mixture
- A pinch of salt or other seasonings
- Herbs, spices, or even hot sauce for heat
An egg white and cornstarch mixture can replace whole eggs for extra crunch. Many people prefer this alternative because it creates an exceptionally crunchy coating.
Seasoning combinations that work
Well-seasoned breaded chicken cutlets can be used in many different meals. Build flavor in multiple layers rather than just seasoning the breadcrumbs.
Salt the chicken directly before starting the breading process. Add spices to both flour and breadcrumb mixtures to create depth of flavor. Here are some popular seasoning combinations:
Italian-inspired: Mix parmesan, garlic powder, and Italian herbsCajun-style: Blend paprika, cayenne, garlic powder, and oreganoMediterranean: Combine za’atar, lemon zest, and crushed red pepper flakes
Note that fresh dried herbs and spices make all the difference—replace any that have been sitting in your cupboard for years. Fresh grated cheese tastes much better than pre-packaged varieties.
Let seasoned cutlets rest briefly before baking so the spices can penetrate the meat. This simple step turns good breaded chicken cutlets into exceptional ones.
Step-by-Step Preparation Method
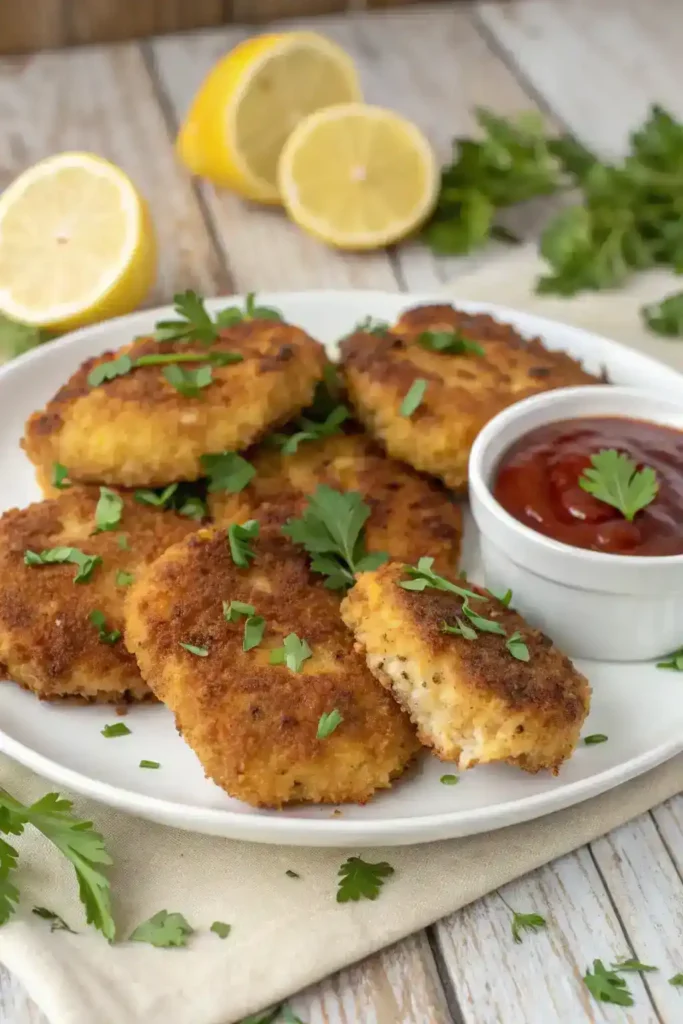
Making perfect chicken cutlets needs both precision and skill. After making these dishes countless times, I’ve found the quickest way to get great results every time you make baked chicken cutlets.
Slicing and pounding techniques
You need uniform cutlets from the start with proper slicing. Place boneless, skinless chicken breasts on a cutting board and hold them flat with your non-knife hand. A sharp chef’s knife or filet knife helps you slice horizontally through the breast to create two even pieces. The sort of thing I love is positioning the chicken near the cutting board edge so my knuckles don’t bump the board while slicing.
The meat slices better if you freeze chicken breasts for 10-15 minutes first. This makes the meat firm enough for clean cuts without tearing.
Each cutlet needs proper wrapping. Put them between sheets of parchment paper or plastic wrap before pounding. This stops sticking and keeps your workspace clean. The goal is to get an even ¼-inch thickness everywhere.
Gentle pressure works best with slight side-to-side motions instead of straight up-and-down pounding. This helps keep the meat intact without making holes or tears.
The proper dredging sequence
The classic breading process needs a specific order to stick well:
- Pat chicken completely dry with paper towels
- Season chicken with salt and pepper on both sides
- Dredge in flour, tap off excess
- Dip into beaten egg mixture, let excess drip off
- Press firmly into breadcrumbs on both sides
The secret to clean breading lies in using one hand for dry ingredients and the other for wet. Your “wet” hand should transfer the chicken from eggs to breadcrumbs, then your “dry” hand can pile breadcrumbs on top before turning. This stops you from breading your fingers instead of the chicken!
How to ensure breading sticks properly
The breading might still fall off even with proper dredging steps. Pressing the breadcrumbs firmly against the chicken creates strong bonds between layers.
The breading sets better if you let the cutlets rest. Letting them sit in the refrigerator for 10-30 minutes helps everything stick together. The egg mixture soaks slightly into both flour and breadcrumbs during this time, making a stronger bond.
Finely crushed breadcrumbs work better than large ones that don’t stick as well. Of course, seasoning at each step builds flavor and creates texture variations that help layers stick together.
These breaded chicken cutlets are ready for the oven once prepared. They’ll turn golden and crispy without the mess of frying—that’s what makes these oven baked chicken cutlets perfect for weeknight dinners.
Oven Baked Chicken Cutlets: Cooking Techniques
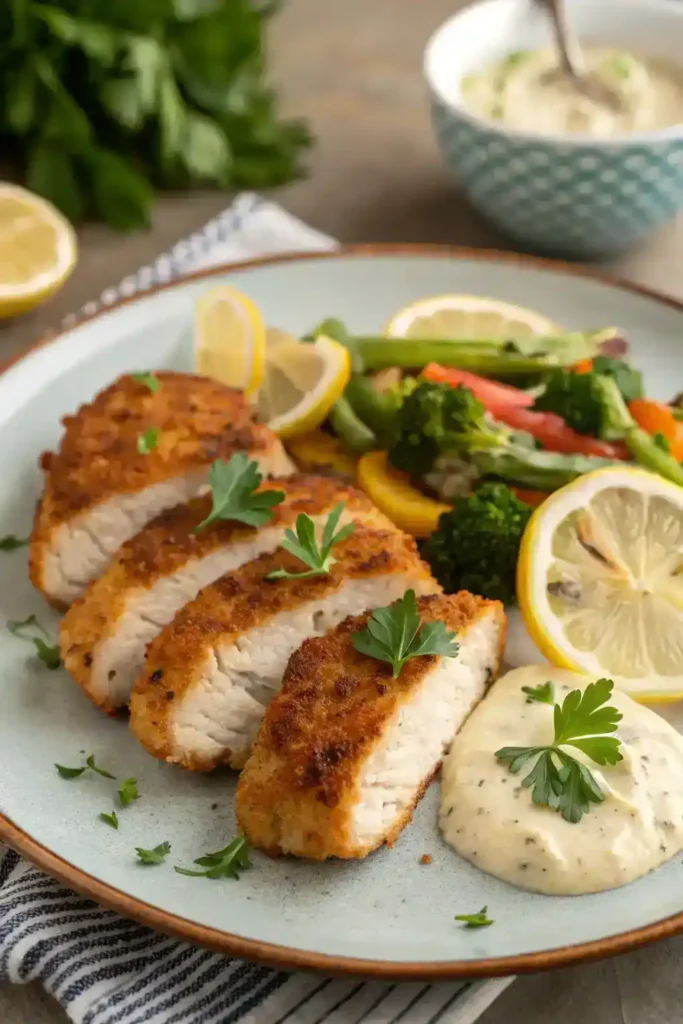
Your carefully prepared cutlets will become crispy, golden masterpieces with the right cooking method. Success depends on proper baking techniques after you’ve mastered the ingredients and prep work.
Optimal temperature settings
High temperatures work best to make crispy baked chicken cutlets. Preheat your oven to 400-425°F. This heat creates that golden-brown exterior you want, just as with fried versions, but without too much oil. Thin cutlets (¼-inch) need 15-20 minutes of total baking time, though cooking times change based on thickness.
You’ll need just 8-10 minutes for very thin cutlets. The circulating air in a convection setting helps improve browning and makes the cutlets crispier.
Wire rack vs. direct pan placement
You’ll get the crispiest results by putting cutlets on a wire rack. Air flows all around the chicken this way, which browns it evenly on all sides. The top and bottom stay crispy, and you won’t get the soggy bottom that often happens with direct pan placement.
Make sure to grease the wire rack well before baking. If you’re baking directly on a pan, use parchment paper and flip the cutlets halfway through.
At what point to flip for even browning
Flipping becomes a must if you don’t use a wire rack. Let the cutlets bake for about 15 minutes, then turn each piece carefully and cook for another 5-10 minutes. Watch for signs they’re ready to flip – the top edges turn white as the bottom cooks.
Here’s a tip for extra crispiness: spray some olive oil on the surface after flipping. Some recipes suggest a quick broil (2-3 minutes) at the end to get maximum browning.
How to tell when cutlets are perfectly done
A meat thermometer gives you the most reliable way to check doneness. Stick it into the thickest part – the internal temperature needs to hit 165°F for safety.
If you don’t have a thermometer, look for these signs:
- Clear (not pink) juices when chicken is pierced
- Noticeable shrinkage from raw state
- Golden-brown, crisp exterior
Let the cutlets rest briefly after they’re done. The meat will be juicier because this rest lets the juices spread back through it.
New bakers should remember that properly thin cutlets will almost always cook through to the center by the time both sides turn golden-brown.
Troubleshooting Common Problems
Making breaded chicken cutlets can challenge even the most experienced cooks. These common problems have simple solutions that can turn your baked chicken cutlet recipes from disappointing to delicious.
Fixing soggy breading issues
Trapped moisture or wrong cooking techniques usually cause soggy breading. You should use a wire rack during baking because it lets air flow around the cutlets and stops the bottom from steaming. You can make them extra crispy by toasting panko breadcrumbs in a skillet with oil and salt before breading.
Cornstarch works better than traditional flour in your dredging station to eliminate sogginess. It doesn’t contain gluten that gets gummy when wet, unlike wheat flour. The chicken needs to be really dry before breading to avoid extra moisture.
Preventing dry, overcooked chicken
We noticed that chicken gets dry mainly because it cooks past the right temperature. A digital thermometer helps you get perfectly cooked cutlets – take them out when they hit 165°F internal temperature. Residual heat continues cooking the chicken, which might reach 170°F by serving time.
Your chicken stays juicier if you:
- Brine cutlets for 2-3 hours in an 8% salt solution (add sugar at half the salt amount)
- Let chicken sit at room temperature for 30 minutes before cooking
- Try cooking at lower temperatures (around 225°F) for longer periods
- Rest the cutlets for 5-10 minutes after cooking
Solutions for breading that falls off
Paper towels help you pat the chicken completely dry for better breading adhesion. The proper dredging sequence matters – don’t skip any steps. After coating, gently press the breading down on all sides.
The time between breading and cooking makes a big difference. Your breaded cutlets should rest in the refrigerator for 10-30 minutes before baking. This step helps the layers stick together better. The “one hand dry, one hand wet” technique stops breading from clumping on your fingers.
Don’t flip the cutlets too often while cooking. This simple tip keeps your breading where it belongs – on the chicken.
Conclusion
Baked chicken cutlets give you that perfect crispy outside and juicy inside without any deep frying. You can use these versatile cutlets as protein in countless meals, and they’re nowhere near as heavy as their fried counterparts.
The right techniques will make your cutlets turn out great – from how you prep the chicken to the way you bread it. A wire rack and the right oven temperature will give a beautiful golden-brown, crispy coating that everyone loves.
These cutlets are perfect for meal prep since they store and reheat really well. Of course, you can try different seasonings and breading combinations to create exciting variations for your everyday meals. You’ll find more recipes and meal ideas that bring restaurant quality to your kitchen at recipesnutritious.com.
Each time you make these baked chicken cutlets, you’ll find new ways to improve your technique and create even better results.
FAQs
Q1. What’s the secret to achieving crispy baked chicken cutlets? The key is using high heat (400-425°F), placing cutlets on a wire rack for air circulation, and lightly spraying with olive oil before baking. Additionally, using panko breadcrumbs and pre-toasting them can enhance crispiness.
Q2. How long should I bake chicken cutlets in the oven? Typically, thin chicken cutlets (about ¼-inch thick) require 15-20 minutes of total baking time at 400-425°F. However, extremely thin cutlets may only need 8-10 minutes. Always check for an internal temperature of 165°F to ensure they’re fully cooked.
Q3. What’s the best way to prevent soggy breading on baked chicken cutlets? To avoid soggy breading, thoroughly pat the chicken dry before breading, use a wire rack while baking, and consider replacing flour with cornstarch in your dredging station. Pre-toasting panko breadcrumbs can also help achieve a crispier texture.
Q4. How can I ensure the breading sticks to the chicken cutlets? For better breading adhesion, follow the proper dredging sequence (flour, egg, breadcrumbs), press the breadcrumbs firmly onto the chicken, and let the breaded cutlets rest in the refrigerator for 10-30 minutes before baking. This helps the layers set and adhere better.
Q5. What’s the best way to tell when baked chicken cutlets are done? The most reliable method is using a meat thermometer – the internal temperature should reach 165°F. Visually, look for clear (not pink) juices when pierced, noticeable shrinkage from the raw state, and a golden-brown, crisp exterior. Let the cutlets rest briefly before serving for optimal juiciness.
