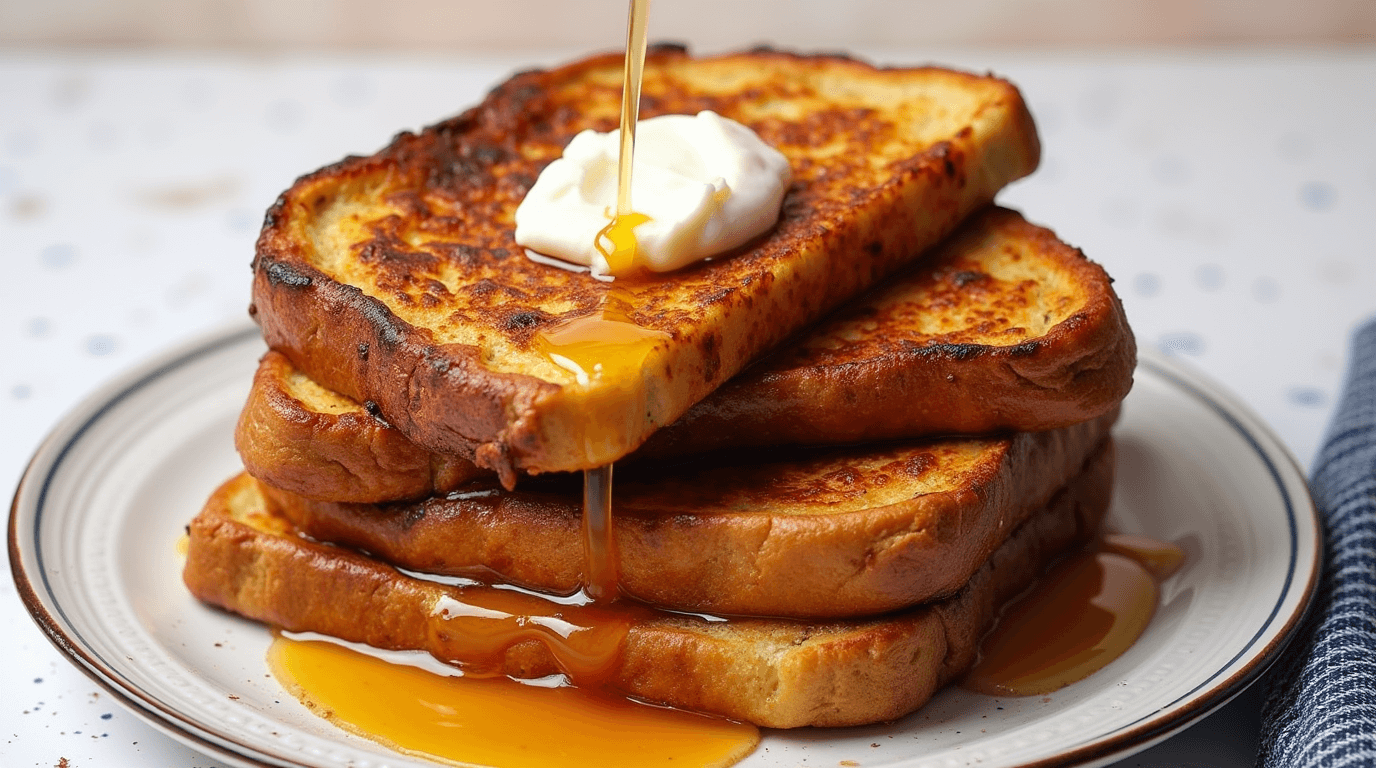
The average American spends 27 minutes making breakfast. Most of us dream about golden French toast that’s crispy outside and fluffy inside, but it remains elusive.
Many of us know the disappointment – soggy middles, charred edges, or that unwanted eggy flavor that spoils breakfast. We tested dozens of combinations and methods to discover the perfect French toast recipe that gives you restaurant-quality results.
This homemade method uses exact ingredient proportions, proper timing, and expert techniques that turn basic bread and eggs into a breakfast masterpiece. You’ll learn to make amazing French toast that will wow your family, whether you cook on weekends or want to become a better home chef.
Ready to raise your breakfast skills? Let’s take a closer look at the science, ingredients, and techniques behind perfect French toast.
Table of Contents
The Science Behind Perfect French Toast
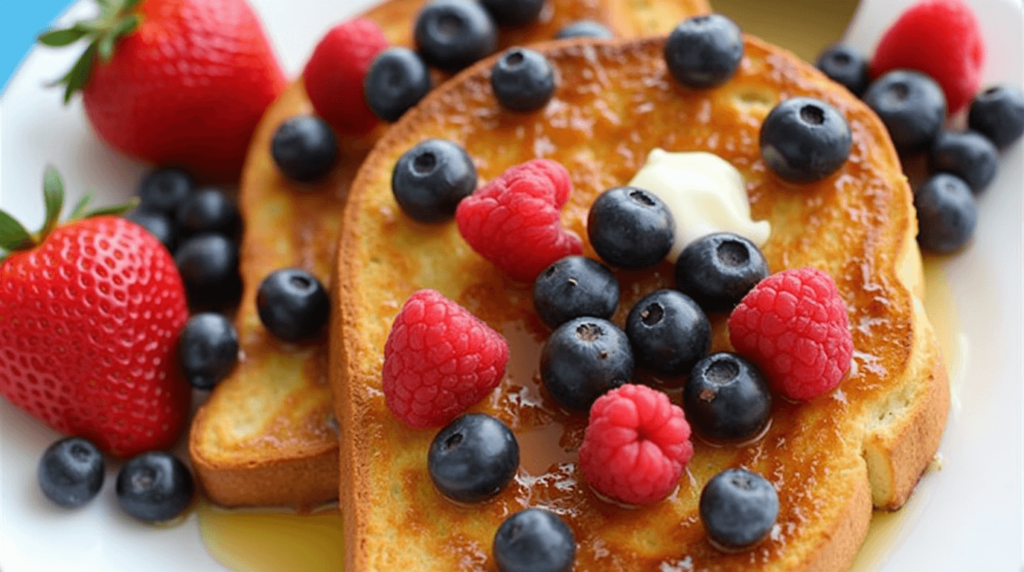
Let’s take a closer look at the science that makes perfect French toast possible. We’ve found that making ideal French toast goes beyond cooking – it’s a series of chemical reactions that work together.
Understanding the Custard-to-Bread Ratio
Exceptional French toast starts with the right custard-to-bread ratio. Our testing shows the ideal mix needs 1/4 to 1/3 cup of milk per egg. This combination will give a rich, custardy interior without making the bread too soggy. Day-old bread works best because it has the perfect moisture balance to absorb our custard mixture.
Role of Different Ingredients
Each ingredient in French toast plays a vital scientific role:
- Eggs: The proteins in eggs solidify with heat and create a binding network that gives French toast its structure and prevents sogginess
- Milk: The milk proteins react with sugars to create a richer structure, beyond just adding moisture
- Sugar: A small amount helps create caramelization and proper browning
- Bread: Day-old bread’s starch molecules have reorganized to better absorb the custard mixture without falling apart
Chemical Reactions During Cooking
The transformation happens when heat meets our custard mixture. The Maillard reaction stands out as the most important – a complex process between proteins and sugars that creates that beautiful golden-brown crust and rich, complex flavors.
The right temperature makes all the difference. Medium-low heat creates the perfect balance: hot enough to trigger the Maillard reaction without burning the outside before the inside sets. This careful heat control lets the eggs coagulate properly and creates that custardy interior with a crispy exterior.
Milk adds more than just liquid to our mixture – it brings proteins and sugars that help with browning reactions. Whole milk or cream’s fat content enhances texture and flavor transfer, though we’ve found too much fat can make it greasy.
Our extensive testing shows that great French toast depends on understanding these chemical processes. The science behind each ingredient and their interactions helps create French toast that’s golden outside and custardy inside.
Essential Ingredients for Success
Making perfect homemade French toast starts with the right ingredients. Our team has tested many combinations to give you a recipe that works every time.
Choosing the Right Bread Type
The bread you pick is vital to make the best French toast. Our tests show that thick-sliced bread (at least 3/4-inch thick) makes the perfect base. These types of bread give you amazing results:
- Brioche: Rich in butter and eggs, offering a tender, plush crumb
- Challah: Traditional egg bread that provides excellent structure
- Thick-cut White Bread: Perfect for classic diner-style results
Slightly stale bread works better than fresh because it soaks up the custard mixture without falling apart.
Optimal Egg-to-Milk Ratio
Our kitchen tests show that three eggs per cup of milk creates the fluffiest French toast. This ratio gives you the perfect custard base. The result isn’t too eggy or too wet – it’s just right for that custardy center everyone loves.
Effect of Different Dairy Options
We tested several dairy options to see how they change the final product. Here’s what different milk types do:
- Whole Milk: Creates a balanced, traditional texture
- Heavy Cream: Makes a more luxurious, richer result, though it might be too heavy for some
- Half-and-Half: Gives you the sweet spot between whole milk and cream
Non-dairy options like almond milk or oat milk work great too. Use 1/4 to 1/3 cup per egg. The ratio matters more than your choice of dairy.
Quality ingredients make a big difference in your final result. Fresh eggs and premium bread are worth the extra cost. Getting unsliced bread lets you control the thickness. This helps you get that perfect mix of crispy outside and custardy inside that makes French toast so special.
Mastering the Soaking Technique
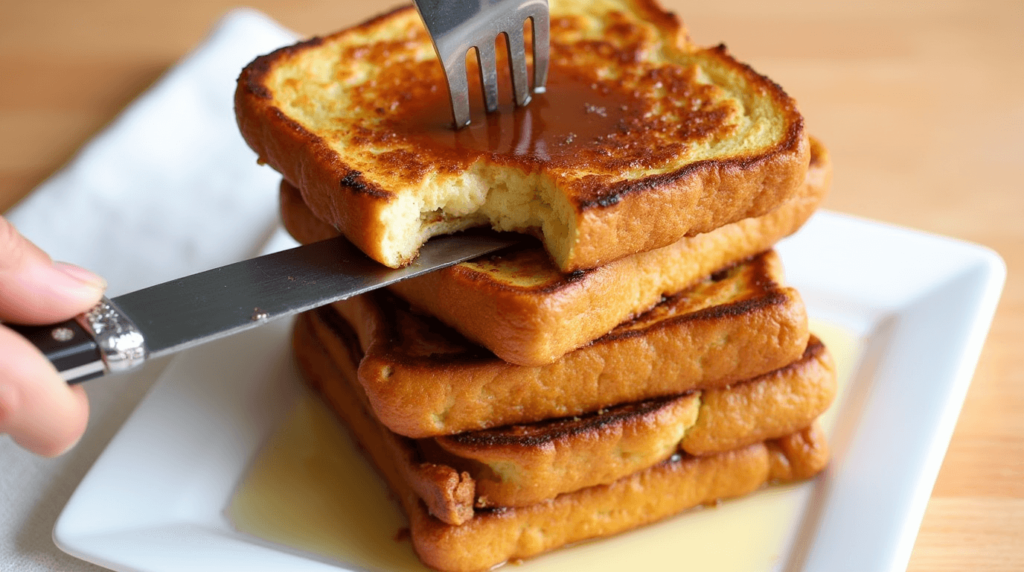
The magic of French toast begins with becoming skilled at the soaking technique. Our extensive testing shows that perfect saturation will give a coveted restaurant-quality result.
Ideal Soaking Times by Bread Type
Different bread types need specific soaking times to achieve optimal results:
- White Sandwich Bread: 1 minute per side
- Brioche/Challah: 15-30 seconds per side
- Crusty Artisan Bread: Up to overnight soaking to get best results
Thicker slices need slightly longer times, as proper saturation is significant to create that perfect custardy center.
Temperature Considerations
Temperature is a vital part of the soaking process. Room temperature ingredients create the most even absorption. You’ll get the best results by drying your bread before soaking. Either leave it out overnight or use our oven-drying technique at 200°F for 10-20 minutes and flip halfway through.
Signs of Perfect Saturation
Our testing has found the exact indicators of perfect bread saturation. The ideal penetration should reach about ¼ inch into each slice and maintain what we call it a “backbone” of dry bread in the center. This structure will give that perfect balance between creamy and fluffy.
A properly saturated bread shows these signs:
- It feels like a heavy, sodden sponge
- It might dribble slightly when lifted
- The surface looks evenly soaked without dry patches
The core team’s favorite technique uses a rimmed baking sheet for soaking. We spread the custard mixture on the sheet, then lay out the bread slices like tiles. This method gives consistent saturation and makes the process quick.
Note that rushing the soaking process is a common mistake at the time you try our best French toast recipe at home. Patience at this stage makes all the difference between good and exceptional French toast. The bread should be really drenched while maintaining its structural integrity.
Cooking Methods and Temperature Control
Temperature control is the life-blood of creating exceptional French toast. We want to share our proven techniques that will give a perfect golden-brown exterior and custardy center.
Pan vs. Griddle Techniques
After testing many cooking surfaces, here are our preferred options to make the best French toast:
- Non-stick Skillet: Excellent for even heat distribution and easy flipping
- Cast Iron Pan: Superior heat retention and perfect for achieving a crispy exterior
- Electric Griddle: Ideal for larger batches, maintains consistent temperature
- Flat Griddle: Perfect for even browning and professional-style results
Heat Management Tips
The perfect French toast depends on precise temperature control. Medium-low heat is vital. Here’s our proven process:
- Original Heat: Preheat your cooking surface over medium-low heat for 5 minutes
- Temperature Test: Add a drop of custard mixture – it should sizzle gently, not aggressively
- Fat Application: Combine butter and neutral oil to prevent burning
- Cooking Time: Cook for 3-4 minutes per side for optimal results
Achieving the Perfect Golden Crust
We have become skilled at creating that beautiful caramelized exterior that makes the best French toast special. A combination of butter and neutral oil helps regulate the browning process. This mixture prevents the butter from burning while adding that rich, nutty flavor everyone loves.
The perfect golden crust needs a steady temperature throughout cooking. The heat should be reduced slightly if the surface darkens too quickly. The ideal French toast should display a deep-brown, lacy appearance on its exterior.
A professional tip we found that works: wipe out the pan between batches and add fresh butter-oil mixture. This prevents burnt bits from affecting the next slice and gives consistent results throughout your cooking session.
Large gatherings need cooked French toast to stay warm in a 200°F oven. This method keeps the crispy exterior while maintaining each slice at the perfect serving temperature. Note that placing them in a single layer preserves that perfect texture you worked hard to achieve.
Our test batches showed that proper heat management distinguishes good French toast from exceptional French toast. High temperatures will burn the custard mixture’s sugars before the center cooks fully. The toast becomes dry and lifeless without that signature golden crust if the temperature is nowhere near high enough.
Troubleshooting Common Texture Problems
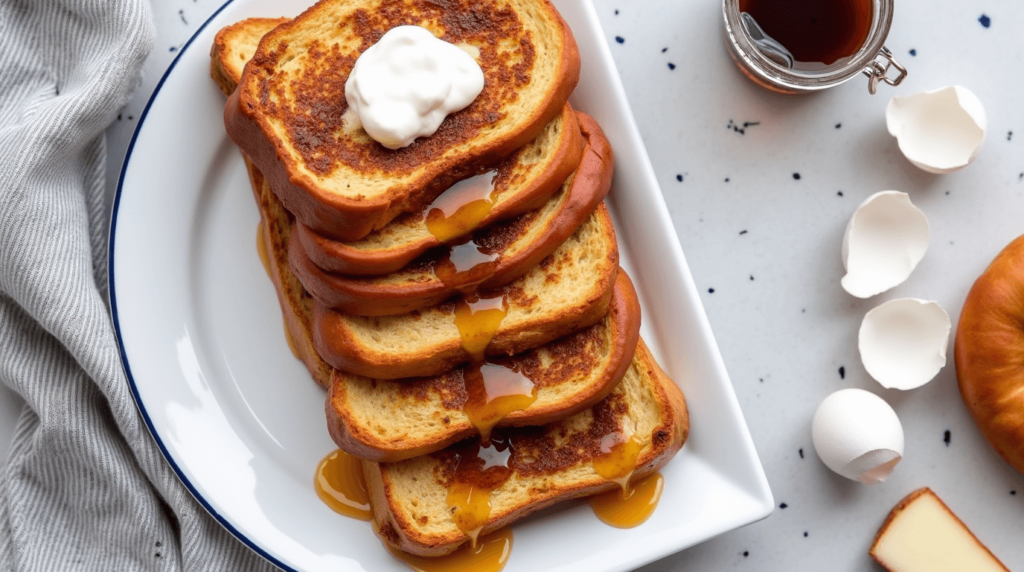
Even expert home cooks run into texture problems with their French toast sometimes. Let us help you fix these common issues and make your homemade French toast perfect.
Fixing Soggy Centers
A soggy center happens when you don’t soak or cook the toast at the right temperature. We found that there was too much milk in the batter that stops the bread from getting firm while cooking. Here’s how to get the texture just right:
- Use one egg for every quarter cup of milk
- Heat your pan properly before you start cooking
- Cook each side for 2-3 minutes on medium heat
The toast still coming out soggy? Try this tested fix: put the slices in a 400°F oven for a few minutes. This gets rid of extra moisture but keeps that custardy interior we want.
Preventing Burnt Exteriors
Heat management problems often lead to burnt outsides and raw centers. Our dual-fat method stops this from happening. Here’s what works best:
- Mix butter with neutral oil to avoid burning
- Keep the heat at medium-low throughout
- Add fresh fat mixture between batches so burnt pieces don’t ruin the next slices
The custard mixture’s sugar can burn quickly. Our butter-oil mix creates a higher smoke point that gives you better control over the temperature.
Texture Recovery Methods
These proven fixes work when texture problems show up:
For undercooked centers:
- Put in a 400°F oven for 4 minutes and flip halfway
- Skip the foil cover – it traps moisture and makes things soggy
For lost crispiness:
- Heat again in a skillet with fresh butter on medium heat for 1-2 minutes per side
- Cool on a wire rack instead of a plate to stop condensation underneath
Gentle reheating brings back the texture without ruining the toast. The perfect French toast should be crispy outside with a soft, custardy center.
Our testing shows that three basic rules prevent most texture issues: pick day-old bread, soak each side for 15-20 seconds, and keep medium-low heat steady. These rules are the foundations of perfect French toast every time you make it.
Conclusion
Quality ingredients and proper techniques create perfect French toast. This detailed piece reveals that success depends on ingredient selection, the right custard ratio, and proper temperature control during cooking.
Each component plays a significant part in the process. The right bread choice and proper saturation combine with heat management to solve common problems. Day-old bread works best. Our proven egg-to-milk ratio and careful temperature monitoring create a golden-brown exterior and custardy center.
Note that consistent practice leads to exceptional French toast. Our tested techniques provide a starting point. You can adjust based on results until you become skilled at making this beloved breakfast classic. These professional methods and time-tested approaches will transform your weekend brunches forever.
FAQs
Q1. What’s the secret to making perfect French toast? The key is using slightly stale bread, soaking it properly in a well-balanced custard mixture, and cooking it over medium-low heat with plenty of butter. Use thick-sliced brioche or challah, and let the bread absorb the custard for the right amount of time to achieve a crispy exterior and custardy interior.
Q2. What’s the ideal milk-to-egg ratio for French toast? For the best French toast, use about 1/4 to 1/3 cup of milk per egg. This ratio creates a rich custard without being too eggy. You can adjust slightly based on your preference – use more milk for a softer texture or less for a sturdier result.
Q3. How can I prevent my French toast from becoming soggy? To avoid soggy French toast, use day-old bread and soak it for only 15-20 seconds per side. Cook on medium-low heat for 3-4 minutes per side. If needed, you can finish it in a 400°F oven for a few minutes to eliminate excess moisture while maintaining a custardy interior.
Q4. What’s the best type of bread for French toast? The best bread for French toast is thick-sliced (at least 3/4-inch thick) and slightly stale. Brioche, challah, or thick-cut white bread work exceptionally well. These types of bread have the right structure to absorb the custard mixture without falling apart.
Q5. How do I achieve that perfect golden-brown crust on my French toast? To get a perfect golden-brown crust, use a combination of butter and neutral oil in your pan. This mixture prevents burning while imparting rich flavor. Cook on medium-low heat and maintain a steady temperature throughout. If the surface is browning too quickly, reduce the heat slightly.
