Chicken thighs create a perfect blend of flavor and value. They cost nowhere near as much as chicken breasts and pack more taste in every bite. These versatile cuts contain only 2 grams more fat per 100g compared to chicken breasts, which makes them an excellent choice for flavorful meals.
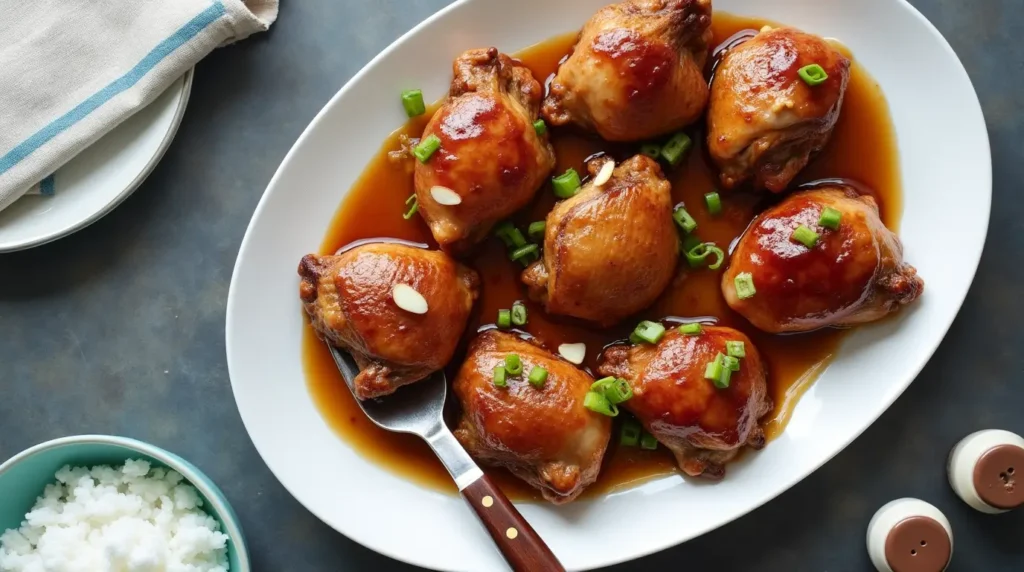
Most home cooks struggle to achieve the perfect balance, but we’ve found that temperature control makes all the difference. Our Easy Skillet Chicken Thighs need just 30 minutes to prepare. The magic happens at 425°F, where the exterior turns wonderfully crispy while the meat stays naturally juicy. You can create restaurant-quality results with these foolproof techniques for quick weeknight dinners or meal prep.
What you’ll learn:
- The secret to crispy skin through moisture control
- Smart temperature tricks for juicy, fully-cooked thighs
- Proven prep methods that ensure consistent results
- Quick fixes for common cooking challenges
Table of Contents
The Science Behind Perfect Chicken Thighs
Chicken thighs get their amazing tenderness from their unique muscle fiber composition and protein structure. The thigh meat contains more slow-twitch muscle fibers. These fibers are rich in myoglobin – the protein that gives the meat its darker color and better flavor.
Understanding meat protein structure
Chicken thigh’s protein structure is different from other cuts. The thigh meat has higher pH levels and contains more α-helix protein structures. It also has proteins with greater surface hydrophobicity, which gives them their unique texture and ability to retain moisture.
Role of fat content in juiciness
The intramuscular fat (IMF) plays a significant role in keeping the meat juicy. Research shows that IMF content grows substantially with age, showing more than 88% increase in the first 150 days. The natural fat content helps the meat baste itself during cooking and prevents moisture loss.
Temperature and moisture control
Perfect results depend on proper temperature management. Chicken becomes safe to eat at 165°F (74°C). The meat becomes especially tender between 175-190°F (79-88°C). These higher temperatures break down the connective tissues, so you get more succulent meat.
To control moisture effectively:
- Cook at high heat (475°F/246°C) first to render fat and crisp the skin
- Let the rendered fat baste the meat naturally during cooking
- Rest the meat after cooking so juices can spread throughout
Moisture retention depends on how proteins behave. Proteins denature and contract as the meat cooks, which pushes moisture to the center. So when you let the meat rest after cooking, these proteins relax and the juices spread back through the meat.
Slow-twitch fibers and higher fat content make chicken thighs very forgiving to cook. Their protein structure helps them stay tender even when cooked past the minimum safe temperature. This makes them great for both new and experienced cooks.
Essential Preparation Techniques
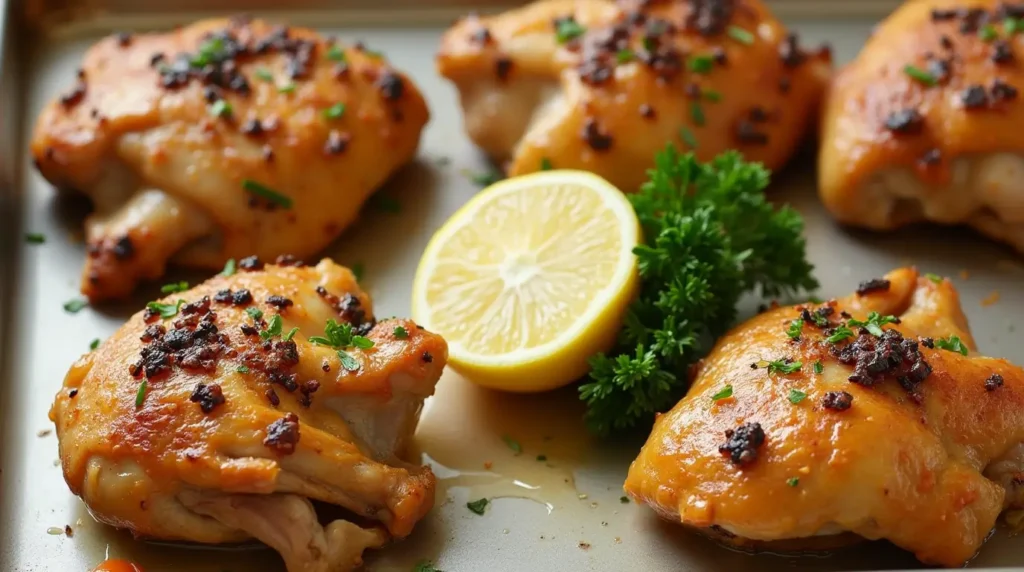
You can become skilled at preparing chicken thighs by learning proper trimming techniques. The original step of removing excess fat takes about 45-60 seconds per thigh. Start by trimming obvious fat flaps and use a nose-diving motion with kitchen shears to remove hidden fat pockets.
Proper trimming and cleaning
Paper towels help dry the chicken thighs and remove surface moisture before cooking. The underside needs special attention because a small triangle of fat often runs deep beneath the surface. Bone-in thighs require careful trimming around the bone without touching it to get accurate temperature readings later.
Dry brining benefits
Dry brining can change ordinary chicken thighs into exceptionally flavorful cuts. This process delivers two significant results:
- The meat’s natural moisture creates a concentrated brine
- The surface browns better and the skin becomes crispier
Kosher salt works best when the chicken rests uncovered in the refrigerator. Smaller cuts need a minimum of 45 minutes to let the surface dry properly. A 24-hour brining time will give even better results.
Temperature management tips
Temperature control is the life-blood of perfectly cooked chicken thighs. The ideal cooking temperature ranges between 400°F and 450°F, and 425°F hits the sweet spot for most recipes. These higher temperatures melt the fat and brown the meat effectively.
Chicken thighs need specific temperature milestones for food safety and optimal texture. Foodborne bacteria die instantly at 165°F. The meat becomes most tender and juicy at an internal temperature of 170-175°F. Let the meat rest for 5-10 minutes before serving.
The thermometer should go into the thickest part of the thigh, at least ¼ inch away from the bone for accurate readings. Wait 5-10 seconds for the thermometer to stabilize and get precise measurements.
Mastering Easy Skillet Chicken Thighs

The right skillet can make or break your chicken thigh recipe. Let me show you everything you need to know to cook chicken thighs that taste like they came from a restaurant kitchen.
Choosing the right pan
A heavy-bottomed skillet, especially cast iron, works best for chicken thighs. These pans hold heat really well and move easily from stovetop to oven. You’ll need a skillet that’s at least 12 inches wide so your chicken isn’t crowded. When food gets packed too tightly, it steams instead of searing, and you won’t get that crispy exterior you’re looking for.
Temperature control techniques
Getting the temperature right is vital to achieve that perfect mix of crispy skin and juicy meat. Start by heating your pan to medium-high and add a little high-heat cooking oil like canola. Set your oven to 475°F (246°C). The chicken should reach an internal temperature of 165°F (74°C) before you flip it.
Here’s what you need to know about temperatures:
- Initial pan sear: Medium-high heat
- Oven temperature: 475°F (246°C)
- Flip temperature: 165°F (74°C)
- Final temperature: 175-180°F (79-83°C)
Achieving perfect sear
The best sear comes from patience and good technique. Put your chicken thighs skin-side down in the hot skillet and don’t touch them for 7-8 minutes. The chicken will release from the pan on its own when it’s properly seared. If the skin sticks, give it another minute until it comes off easily.
Good contact with the pan helps render fat and creates crispy skin. After flipping, put the skillet straight into your preheated oven. This two-step method renders the fat perfectly while keeping the meat juicy.
You can add more flavor after flipping. Shallots and garlic in the pan create a tasty base for a pan sauce if you want one. This method not only gives you perfectly cooked chicken but also opens up the chance to make a complete, restaurant-style meal.
Creating the Ultimate Crispy Skin
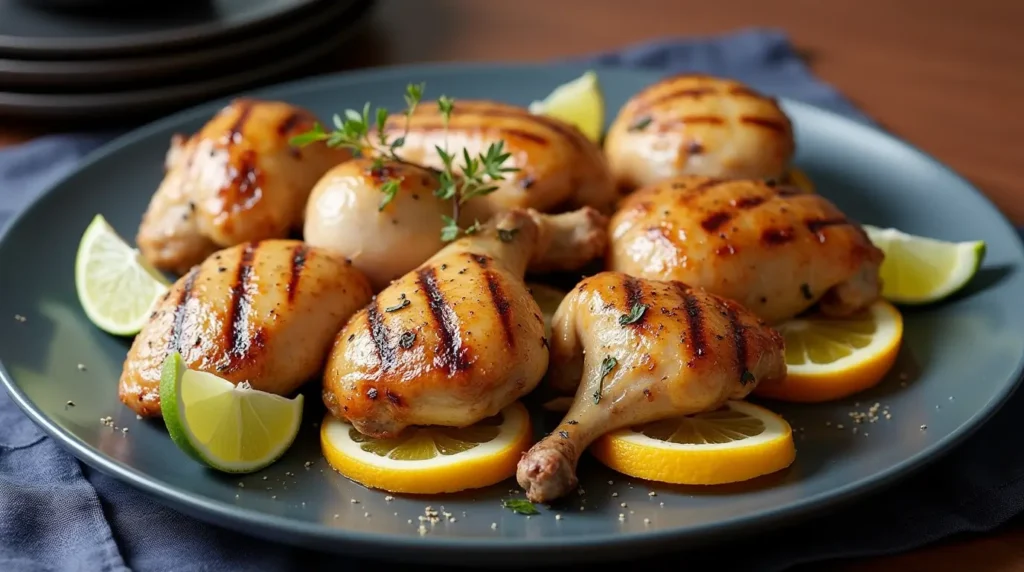
You need to understand chicken skin’s fundamental composition to create that perfect crispiness. We discovered that chicken skin contains about three-quarters water, which makes removing moisture the first vital step.
Moisture removal methods
Your journey to crispy skin starts with proper drying techniques. The chicken thighs need 12-24 hours of uncovered time in the refrigerator. This allows air to circulate and remove excess moisture. Paper towels help you pat the skin really dry after taking it out of the refrigerator. You can get better results by gently separating the skin from meat with your fingers. This step prevents the skin from getting wet again during cooking.
Fat rendering techniques
The right fat rendering turns rubbery chicken skin wonderfully crispy. A cast-iron skillet works best because it spreads heat evenly. The secret lies in giving enough time for rendering – usually 8 to 10 minutes – without disturbing the chicken.
To get the best fat rendering:
- Medium heat works best to avoid burning
- Keep the skin touching the pan surface
- Let the fat melt completely before you flip
Temperature control secrets
Temperature management is the life-blood of achieving crispy skin. The cooking starts at 475°F for the original sear. Without doubt, this high temperature helps melt fat effectively and creates a golden-brown exterior. The heat should drop to 400°F after the initial sear to prevent burning while keeping the crispiness.
Patience and precision matter here. The skin should turn deep golden without charring. The broiler can add extra crispiness when used for 2-3 minutes at the end. Just watch closely during this final step to avoid burning.
To get restaurant-quality results, think about adding baking powder to your seasoning mix. Mix one teaspoon baking powder with four teaspoons salt to break down skin proteins. This improves browning and crispiness. Applying this mixture before overnight drying works with the air-drying process to create exceptionally crispy skin.
Note that perfect chicken skin takes both time and technique. The right moisture removal, fat rendering, and temperature control revolutionize ordinary chicken thighs into a gourmet-worthy dish.
Common Problems and Solutions
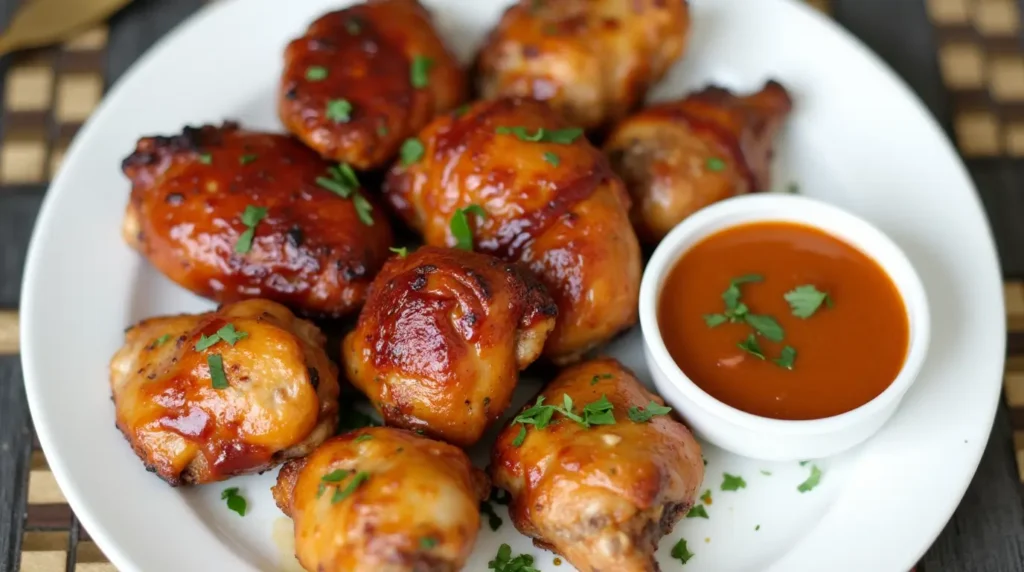
Chicken thigh recipes can challenge even experienced cooks. Three biggest problems usually come up: rubbery skin, undercooked centers, and seasoning issues. Here’s how to tackle each of these challenges.
Dealing with rubbery skin
Moisture and wrong cooking temperatures often cause rubbery chicken skin. Don’t cover the pan while cooking because steam gets trapped and drips back onto the skin. Space your pieces properly since overcrowding creates steam and stops proper browning.
To get crispy skin every time:
- Pat the surface dry with paper towels
- Cook at temperatures between 275°F to 320°F
- Skip the aluminum foil during cooking
- Leave enough space between pieces
Preventing undercooked centers
Wrong temperature control leads to undercooked centers. Dark thigh meat needs higher internal temperatures than breast meat to cook right. Chicken thighs should reach 175°F inside, not the usual 165°F that works for chicken breasts. Taking thighs out at 165°F leaves them undercooked and rubbery.
Chicken thighs are quite forgiving and stay tender even when cooked 20 degrees above the right temperature. Let the meat rest for 5 minutes after cooking so the juices spread through the meat.
Fixing seasoning issues
Poor timing and wrong application methods create seasoning problems. Watch your marinating time with acidic ingredients – keep it under four hours when using citrus or vinegar to avoid mushy meat. If you’re marinating overnight, skip the acidic ingredients.
Double your seasoning and put some under the skin as well as on top to boost flavor. Keep a close eye when broiling for extra crispiness since spices can burn fast – broil for just 1-2 minutes.
Your stove’s heat output affects seasoning too. If seasonings start burning too fast, turn down the heat and take the pan off the burner for a bit. This helps develop flavors without burning them.
Note that chicken thighs handle temperature variations well. Focus on getting the right internal temperature instead of exact cooking times. The meat stays tender even past its ideal temperature, making it perfect for both new and skilled cooks.
Conclusion
Chicken thighs are one of the most forgiving cuts of meat that work perfectly for both novice cooks and seasoned chefs. Their unique protein structure and fat content help them stay juicy even when cooked beyond the standard temperature guidelines.
You can achieve great results with chicken thighs by focusing on three elements: proper moisture control, temperature management, and cooking patience. The best results come from really dried thighs cooked at 475°F. Give them enough time to render fat, and you’ll get that perfect combination of crispy skin and tender meat.
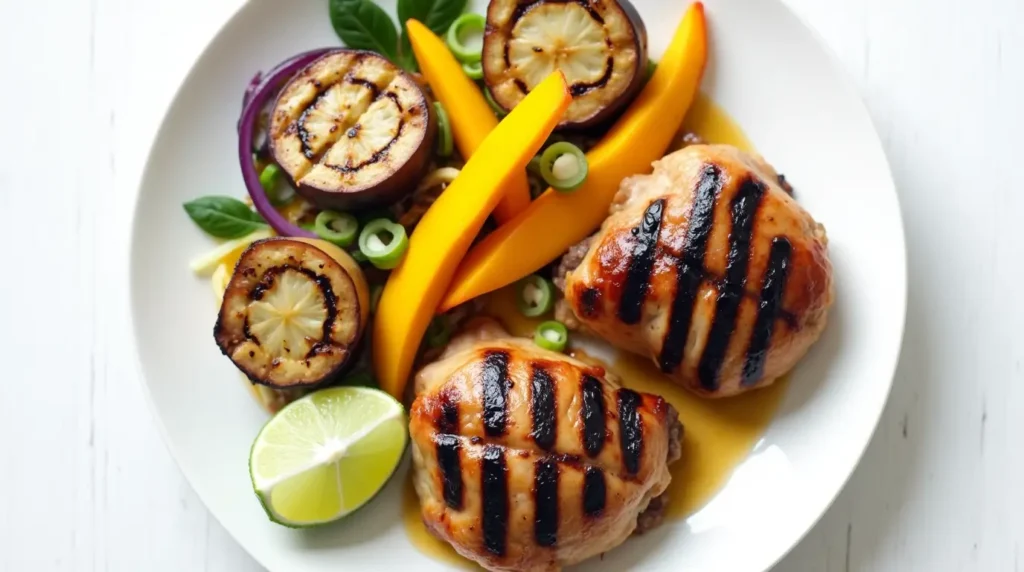
Home cooks often find that becoming skilled at chicken thigh preparation creates endless possibilities for delicious meals. The simple techniques covered in this piece serve as building blocks for countless variations. Want to explore more chicken recipes and cooking techniques? Visit our blog “recipesnutritious.com” for more recipes and food ideas.
Note that excellent results come from understanding the cooking science and applying proper techniques consistently. These methods and explanations will help you create restaurant-quality chicken thigh dishes right in your kitchen.
FAQs
Q1. What’s the best cooking method for achieving crispy chicken thighs? The best method for crispy chicken thighs is oven roasting at a high temperature. Start by searing the thighs skin-side down in a cast-iron skillet over medium-high heat, then transfer to a 475°F oven. This technique renders the fat and crisps the skin while keeping the meat juicy.
Q2. How can I ensure my chicken thighs are juicy on the inside? To keep chicken thighs juicy, cook them to an internal temperature of 175-180°F. Unlike chicken breasts, thighs benefit from slightly higher temperatures. Also, let the meat rest for 5-10 minutes after cooking to allow the juices to redistribute throughout the tissue.
Q3. What’s the secret to getting crispy skin on chicken thighs? The secret to crispy skin is proper moisture removal and fat rendering. Pat the thighs dry with paper towels, then let them air-dry uncovered in the refrigerator for 12-24 hours. When cooking, start with high heat to render the fat, and avoid moving the thighs until the skin releases easily from the pan.
Q4. How long should I marinate chicken thighs? When marinating chicken thighs, limit the time to 4 hours if using acidic ingredients like citrus or vinegar to prevent the meat from becoming mushy. For overnight marination, consider omitting acidic components. Remember, chicken thighs are naturally flavorful and don’t require extensive marination.
Q5. What’s the ideal internal temperature for cooked chicken thighs? The ideal internal temperature for chicken thighs is 175°F, not the standard 165°F often cited for chicken breasts. Thighs remain tender even when cooked to 180°F, making them more forgiving than other cuts. Always use a meat thermometer inserted into the thickest part of the thigh for accurate measurement.

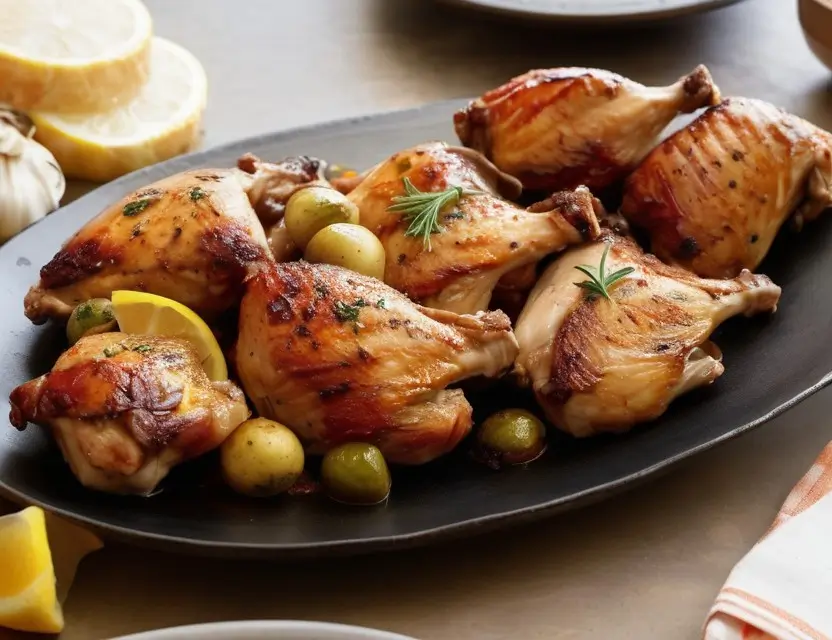
1 thought on “The Secret to Perfect Chicken Thigh Recipes (Crispy Outside, Juicy Inside)”
Comments are closed.