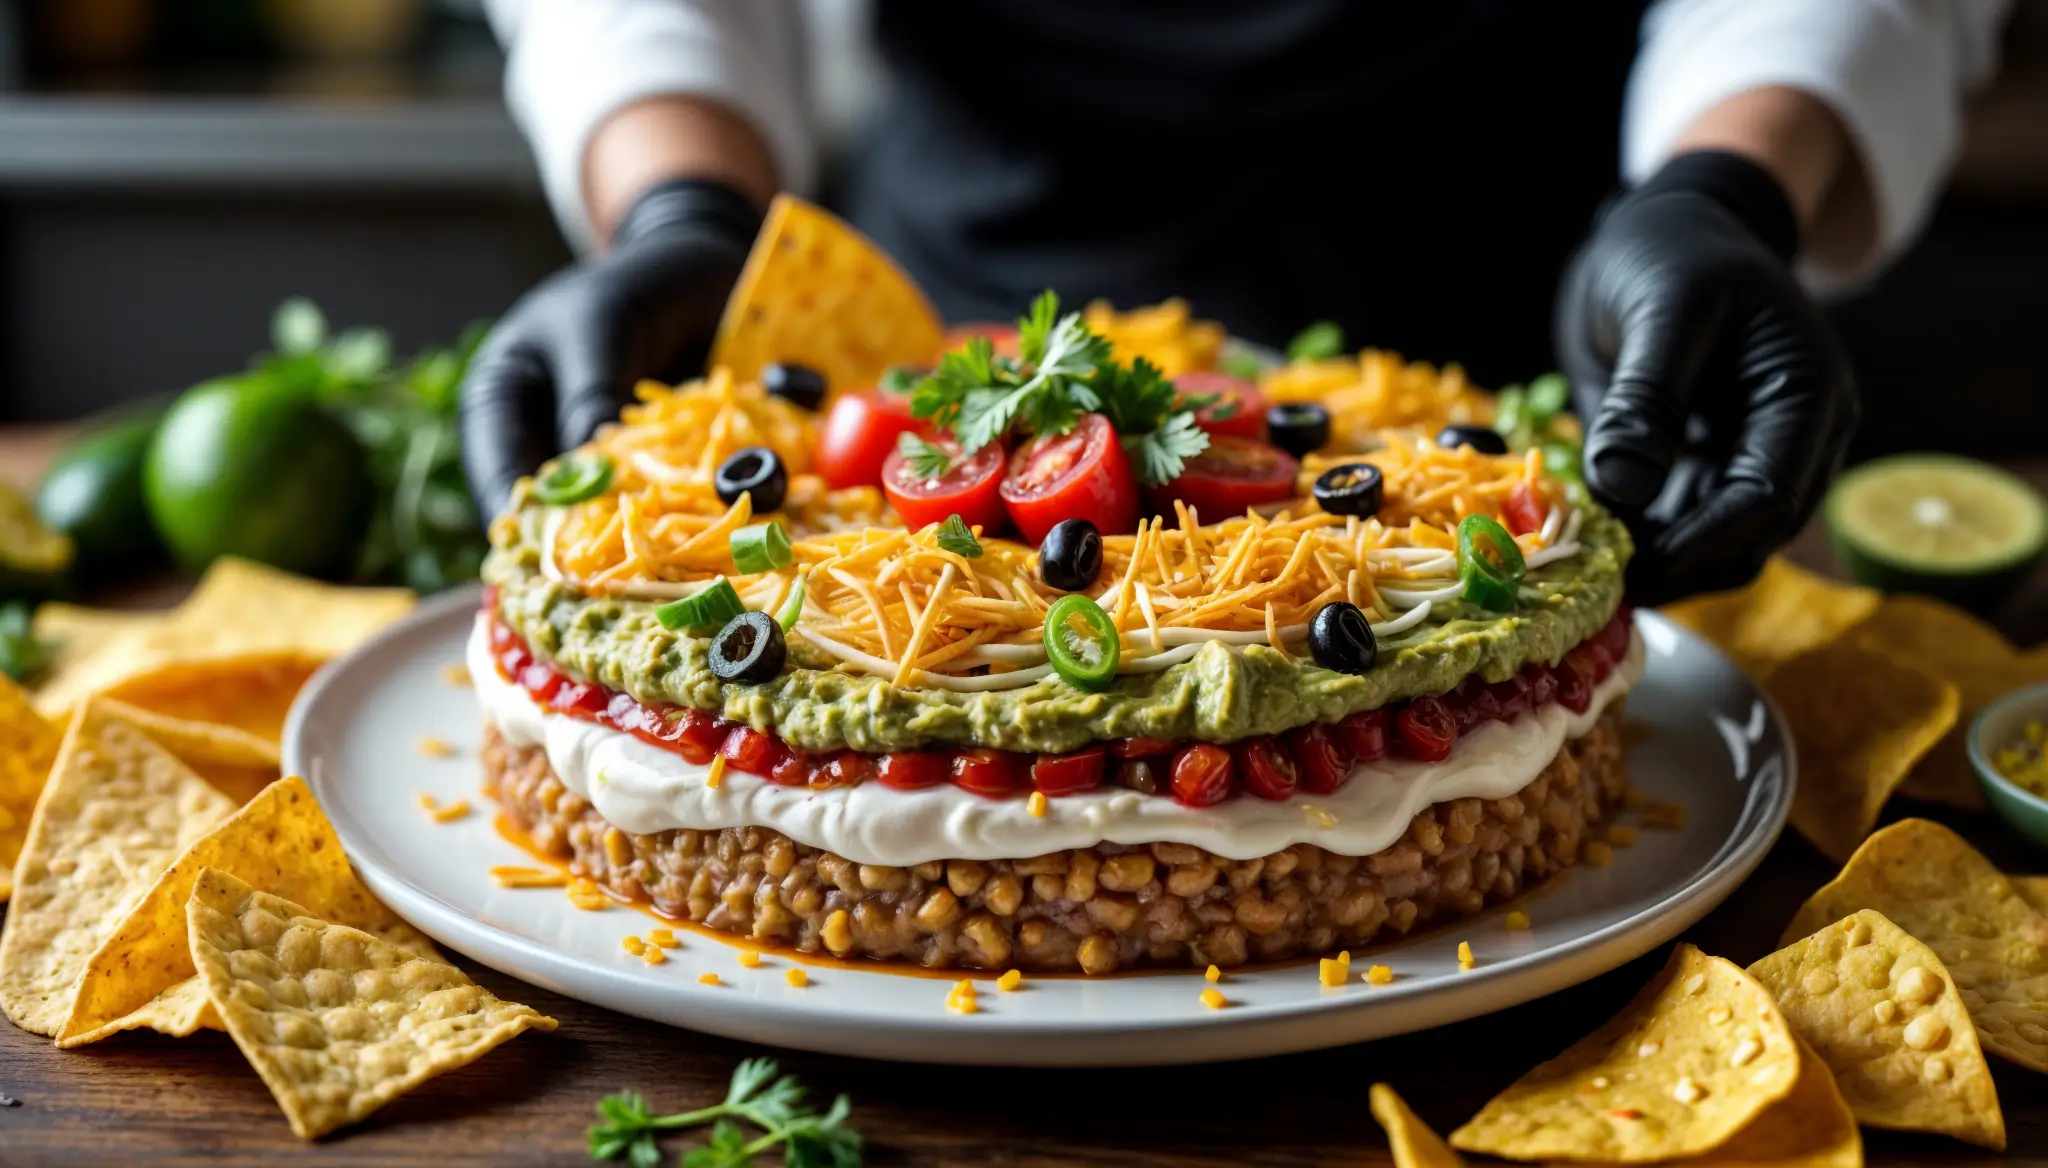
This classic taco dip recipe needs just 15 minutes of prep time and has remained a party favorite for over a decade. Many restaurants closely guard their secrets, but we’ve discovered the professional techniques behind this beloved appetizer that can feed up to 56 people.
The perfect layered taco dip recipe requires more than mixing cream cheese with sour cream. My experience with this dish has taught me that temperature control, ingredient quality, and proper layering techniques create the real difference. We’ll share the restaurant-grade methods to help you create a simple taco dip or a detailed 7-layer masterpiece. These techniques will help you prepare this make-ahead wonder that stays fresh for up to four days and becomes a showstopping appetizer.
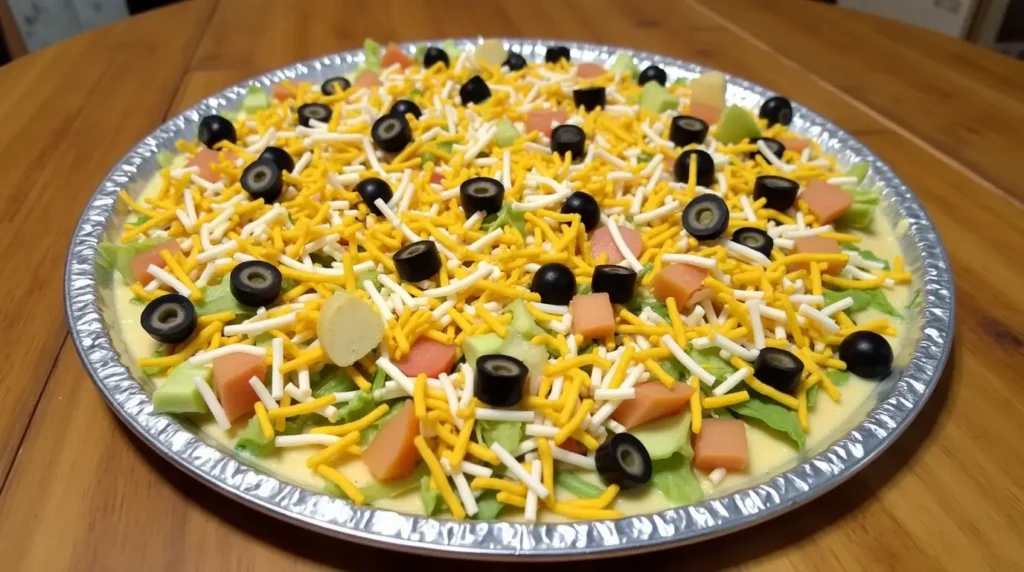
Table of Contents
The Restaurant Secret to Perfect Taco Dip Layers
The perfect taco dip recipe depends on the significant relationship between temperature and layering. These elements combine to create a dip that maintains its structure and flavor.
The temperature control technique
Professional kitchens keep strict temperature control for each layer. We cooled the ground beef mixture completely before adding other ingredients. The cream cheese should reach room temperature to mix smoothly. Different layers have their ideal serving temperatures – the sour cream mixture tastes better chilled and needs refrigeration for at least one hour before serving.
Professional layering order secrets
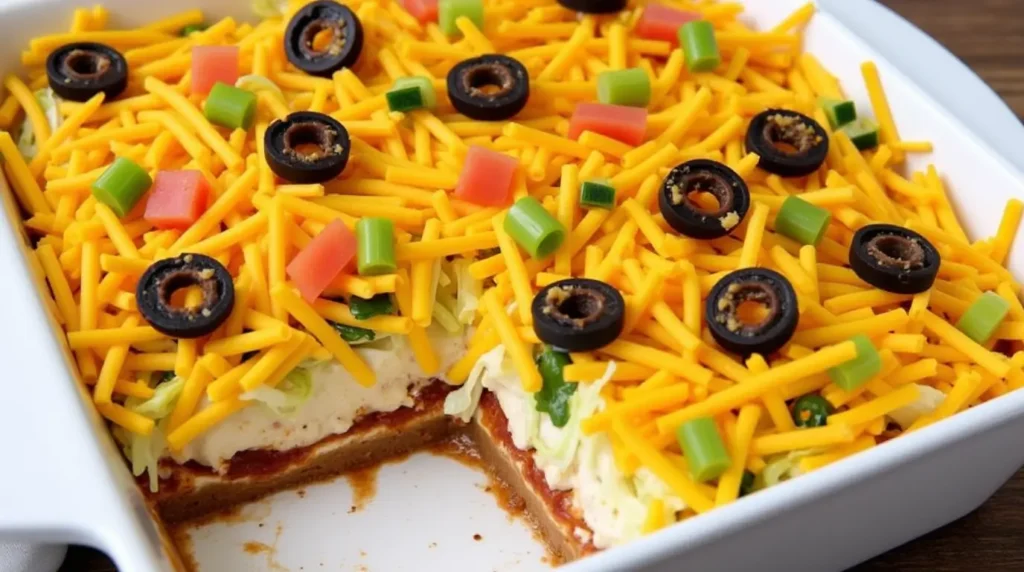
A structurally sound taco dip relies on the strategic layering sequence. Heavier layers belong at the bottom to prevent collapse. Here’s the professional layering sequence:
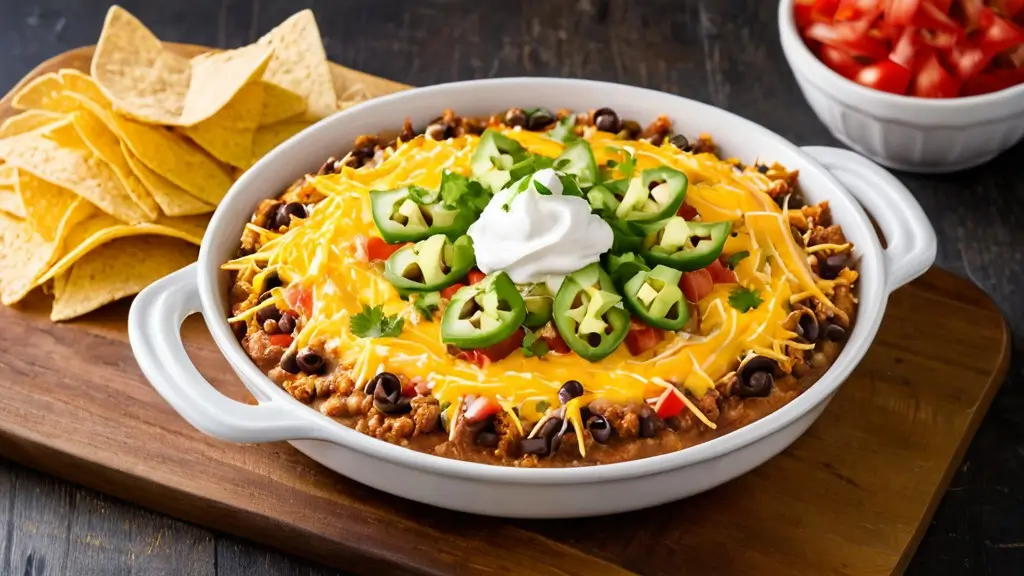
- Base layer: Seasoned refried beans or ground meat mixture
- Cream cheese and sour cream blend
- Guacamole (placed in middle to prevent browning)
- Shredded cheese
- Fresh toppings (lettuce, tomatoes)
Optimal thickness ratios for each layer
Each layer needs specific thickness to create the perfect bite. The base layer should be spread evenly, approximately 1/2 inch thick. Mix the cream cheese thoroughly with taco seasoning before spreading it uniformly. The cheese layer requires 2 cups of shredded cheese distributed evenly.
The right temperature during service matters too. Placing the serving dish on a tray of ice helps maintain food safety at parties lasting over two hours. The dip stays fresh up to three days when stored in an airtight container.
remium Ingredients That Make the Difference
Quality ingredients make the difference between an ordinary taco dip and one that matches restaurant offerings. We selected premium components to improve texture and taste. This creates a memorable appetizer experience.
Selecting restaurant-grade cheese blends
Professional kitchens use specific cheese combinations to get superior results. White American cheese from the deli counter melts perfectly and creates the smoothest texture. A combination of freshly shredded cheddar and Monterey Jack gives better texture and flavor than pre-packaged alternatives. Queso fresco adds a distinctive character for an authentic Mexican touch.
The truth about premium vs standard sour cream
Full-fat sour cream gives the richest, most satisfying base for taco dip. The signature creamy texture restaurants are known for comes from combining it with softened cream cheese. Greek yogurt works as a protein-rich substitute that provides similar creaminess with added nutritional benefits.
Fresh vs pre-packaged produce effect
Fresh produce lifts the final product remarkably. Roma tomatoes’ firm texture and concentrated flavor make them ideal, but their seeds need removal before chopping. Green onions sliced one inch into their greens give the perfect balance of sharp flavor and visual appeal.
Fresh and pre-packaged ingredients show clear differences:
- Fresh tomatoes give bright, juicy flavors compared to their canned counterparts
- Crisp, aromatic onions taste better than pre-processed options
- Hand-shredded lettuce keeps better texture than pre-cut varieties
Vegetables chopped just before assembly give the best results. This timing keeps maximum freshness and stops excess moisture from ruining the dip’s consistency. Seasonal produce brings peak flavor and nutritional value.
Professional Mixing and Seasoning Techniques
The best taco dip recipes come from professional kitchens that use specific mixing and seasoning techniques. I found that there was a way to turn a basic dip into something you’d expect from a restaurant by becoming skilled at these methods.
The two-stage mixing method
You need proper ingredient preparation to get that perfect creamy texture. We started by letting the cream cheese reach room temperature. The cream cheese needs to sit out for 30-45 minutes before mixing. Don’t try to rush this step.
The professional two-stage mixing process works like this:
- Original blend: Mix softened cream cheese with sour cream
- Season incorporation: Add taco seasoning bit by bit
- Final whip: Beat with an electric mixer until smooth
- Temperature rest: Let mixture settle before spreading
An electric mixer will add air into the mixture, which makes it substantially easier to scoop. You can use a sturdy whisk instead, but you’ll need more arm power to get the same smoothness.
Restaurant-style seasoning combinations
Most professional kitchens create their own special seasoning blends. A balanced mix has chili powder, cumin, oregano, and garlic powder. Making your own blend is a great way to get better control over flavor intensity and spice levels if you want authentic taste.
Mix the base seasonings really well into the cream cheese blend. Start by breaking up the softened cream cheese with seasonings, then mix everything until the spices spread evenly through the dip.
Texture optimization tricks
The right texture depends on several important factors. Full-fat sour cream will give the richest consistency. I learned to strain any watery ingredients through a colander to keep the dip from getting soggy.
Here’s how to get perfect texture:
- Beat the cream cheese layer really well so it won’t harden in the fridge
- Spread each layer evenly for consistent bites
- Take out tomato seeds before dicing to avoid extra moisture
Each layer should be spread carefully to make sure every bite has the right mix of flavors. This is especially important when you have ingredients at different temperatures. Let each layer set for a bit to keep the textures distinct throughout the dip.
Advanced Preparation and Storage Methods
Restaurant-quality taco dip recipes stand out because of proper preparation and storage methods. Professional techniques will give your dip lasting appeal from prep to service.
Restaurant make-ahead secrets
We prepared taco dip components ahead of time to streamline processes. You can make the dip up to three days before serving and store it in the refrigerator. The first four layers through the salsa stage work best when you add fresh toppings right before serving.
Success depends on keeping components separate. Add fresh vegetables just before serving to keep them crisp. The pico de gallo tastes better when made three days ahead – extra resting time improves its flavors.
Professional storage techniques
Professional kitchens stick to strict storage rules to keep dip quality high. Store the dip in airtight containers or wrap it tightly with storage wrap. Proper storage at the right temperature helps it stay fresh up to four days.
The best way to preserve:
- Place containers on middle shelves where temperature stays steady
- Keep ½ inch space at top of containers so ingredients can expand
- Choose shallow containers for dairy items to help them cool quickly
Temperature control during service
Temperature management is a vital part of safety and quality. The dip should stay at room temperature no longer than two hours. This time drops to just one hour when temperatures rise above 90°F.
Restaurants use several methods to keep serving temperatures right:
- Set up chilled dipping bowls with ice underneath
- Keep backup supplies in refrigeration during extended service
- Replace portions throughout long events
Longer parties need smaller serving containers filled from refrigerated backups. This approach helps control temperature and keeps the dip looking fresh with good texture throughout service.
Presentation Secrets from Top Restaurants
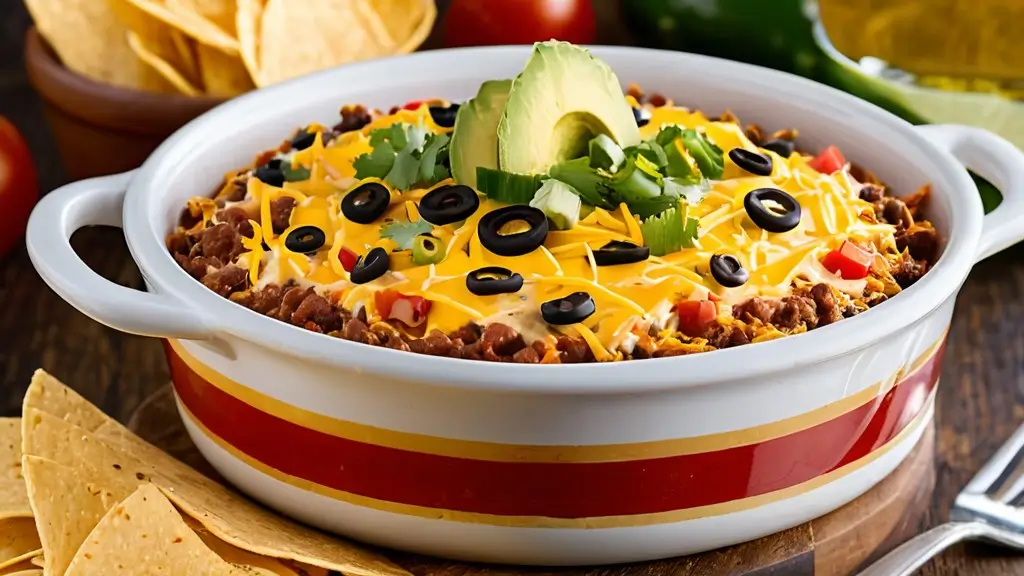
A simple taco dip recipe transforms into a restaurant-worthy centerpiece through visual presentation. Professional kitchens know that people eat with their eyes first, and becoming skilled at presentation techniques is vital to create an unforgettable appetizer experience.
Garnishing techniques for visual appeal
Visual impact begins with smart garnishing. We arranged fresh herbs and colorful toppings in a bulls-eye pattern on a round platter that makes each layer visible from the outside in. Professional garnishing elements include:
- Fresh cilantro leaves
- Sliced red bell peppers
- Cherry tomatoes
- Green onions (scallions)
- Black olives for contrast
- Smoked paprika dusting
Garnishes can match the occasion’s theme in their arrangement. The toppings should be finely chopped to create precise, tiny circles in the middle of the dip. Fresh toppings need to be added right before serving to stay vibrant.
Plating and serving vessel selection
Professional chefs choose shallow, clear glass dishes or round platters that measure 12-14 inches across. Guests can easily access the dip in this size, and layers remain visible. Restaurants prefer wider, shallower vessels over deep bowls because they keep the dip neat after multiple servings.
Professional plating strategies for bigger gatherings include:
- Making two smaller servings instead of one large display
- Using cake stands to raise the presentation
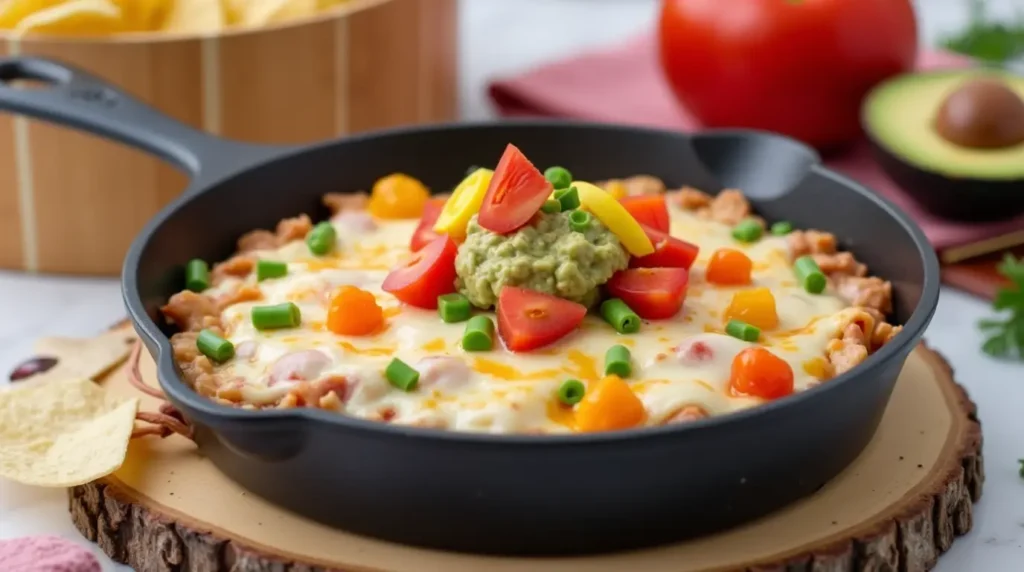
- Placing the serving dish on wooden or marble boards
Temperature maintenance during service
Food safety standards require careful attention to temperature control during service. Cold food holding temperature should stay at 40 degrees Fahrenheit or below. Restaurants use several professional techniques for extended service periods.
Cold food temperatures need checking every two hours. Any cold items that reach 70 degrees Fahrenheit or higher must be thrown away. Fresh portions should never mix with food already out for service.
The best temperature maintenance includes:
- Food pan carriers or insulated catering bags for transport
- Keeping food covered to maintain temperature
- Regular stirring to spread coldness throughout
- Temperature monitoring with proper thermometers
Safe serving windows get shorter in environments above 90°F. Professional kitchens often use cold food tables and cold crocks to keep proper serving temperatures. These methods help the dip maintain its structure throughout service.
The serving dish should rest on a bed of ice for parties that last several hours. The dip shouldn’t stay at room temperature longer than four hours. Restaurants suggest checking temperatures every two hours instead of four to allow time for fixes if needed.
Conclusion
The secret to restaurant-quality taco dip lies in paying attention to every detail. Anyone can create this crowd-pleasing appetizer with the right temperature control, smart layering techniques, and carefully chosen ingredients. My kitchen experience shows that professional techniques like two-stage mixing and precise garnishing can turn a basic dip into something spectacular.
Quality ingredients make all the difference – softened cream cheese, fresh produce, and proper storage are the foundations of an amazing taco dip. Restaurants might keep their recipes secret, but these professional methods will help you create a version that matches any upscale establishment.
This recipe builds confidence to explore more advanced dishes. Our website “recipesnutritious.com” features professional kitchen secrets and techniques you can use at home.
The right storage and serving temperature will keep guests reaching for more. These restaurant-grade methods will make your taco dip the highlight of any gathering. It stays fresh up to four days in proper storage – though it usually disappears much faster!
FAQs
Q1. What are the essential layers for a perfect taco dip? A perfect taco dip typically consists of a base layer of seasoned refried beans or ground meat, followed by a cream cheese and sour cream blend, guacamole, shredded cheese, and fresh toppings like lettuce and tomatoes. The key is to layer heavier ingredients at the bottom for structural integrity.
Q2. How can I prevent my taco dip from becoming watery? To avoid a watery taco dip, strain liquid ingredients through a colander, remove seeds from tomatoes before dicing, and use full-fat sour cream for a richer consistency. Also, ensure each layer is spread evenly and allow them to set briefly before adding the next one.
Q3. What’s the best way to prepare cream cheese for taco dip? For the best results, allow cream cheese to reach room temperature (about 30-45 minutes) before mixing. Use an electric mixer to blend it with sour cream and gradually incorporate taco seasoning. This two-stage mixing method ensures a smooth, creamy texture that’s easy to spread and scoop.
Q4. How long can taco dip be stored in the refrigerator? When stored properly in an airtight container, taco dip can last up to four days in the refrigerator. For optimal freshness, prepare the first four layers through the salsa stage in advance, and add fresh toppings just before serving.
Q5. What are some professional tips for serving taco dip at parties? For parties, use shallow, clear glass dishes or round platters for better layer visibility. Place the serving dish on a bed of ice to maintain proper temperature. For extended serving periods, portion the dip into smaller containers and refill from refrigerated backups. Remember not to leave the dip at room temperature for more than two hours for food safety.

